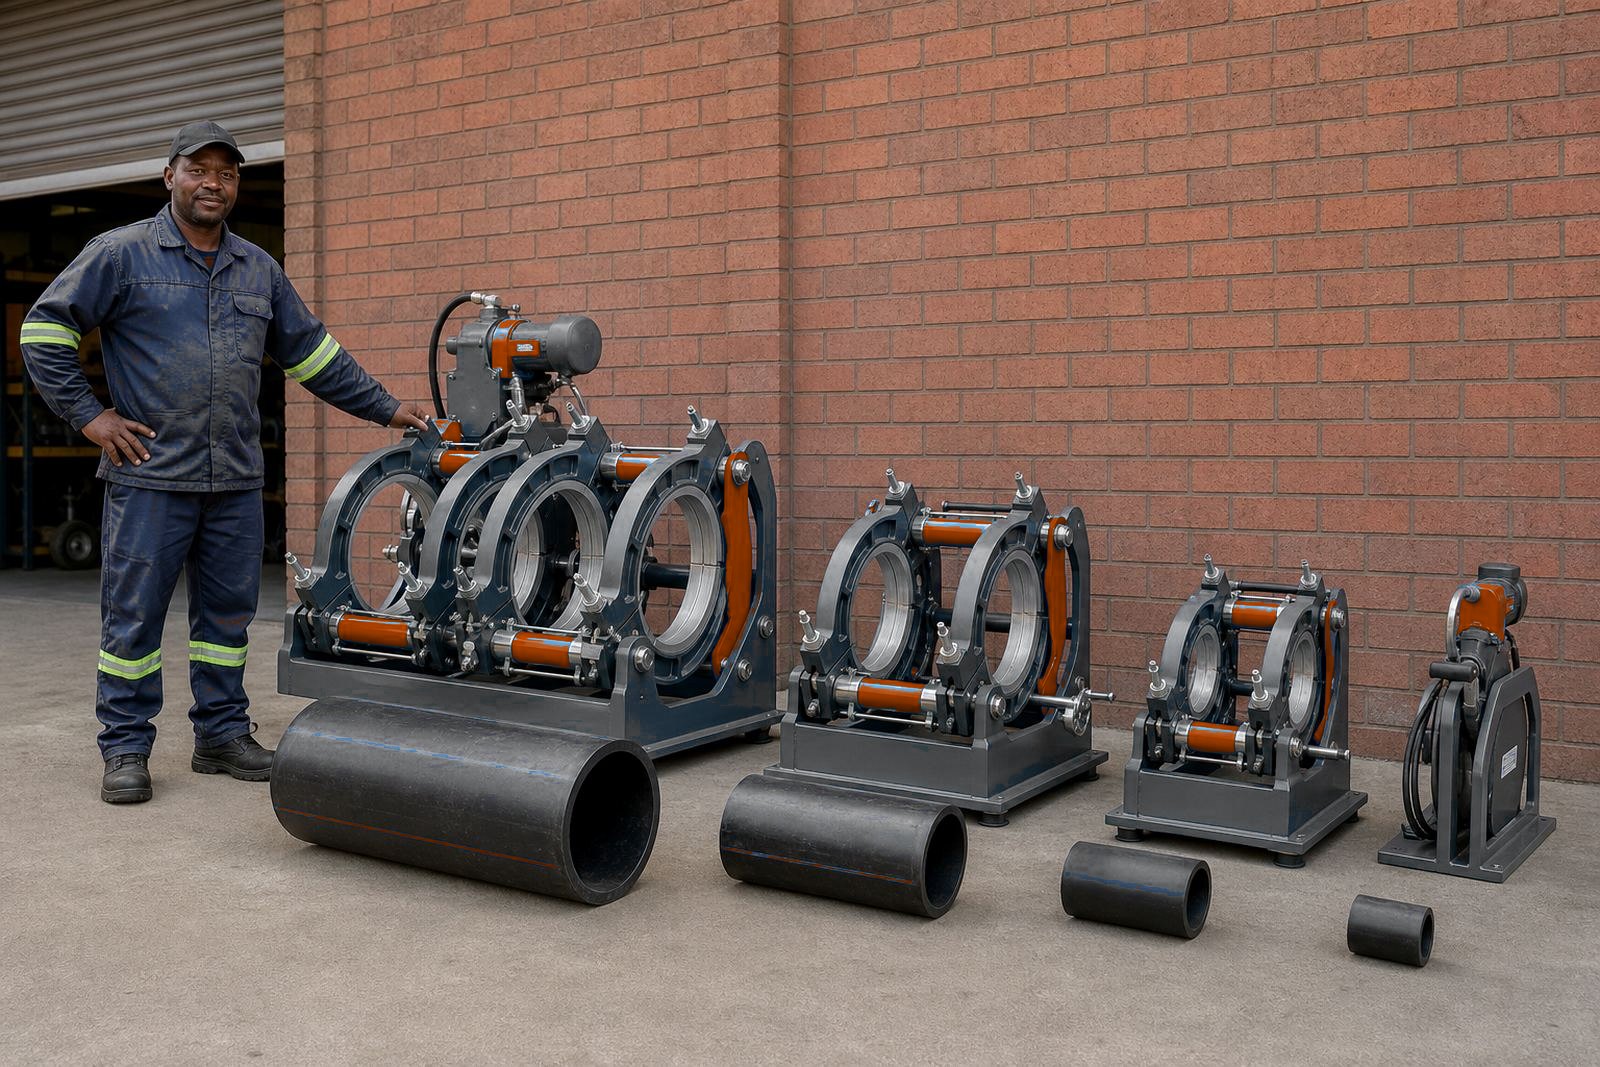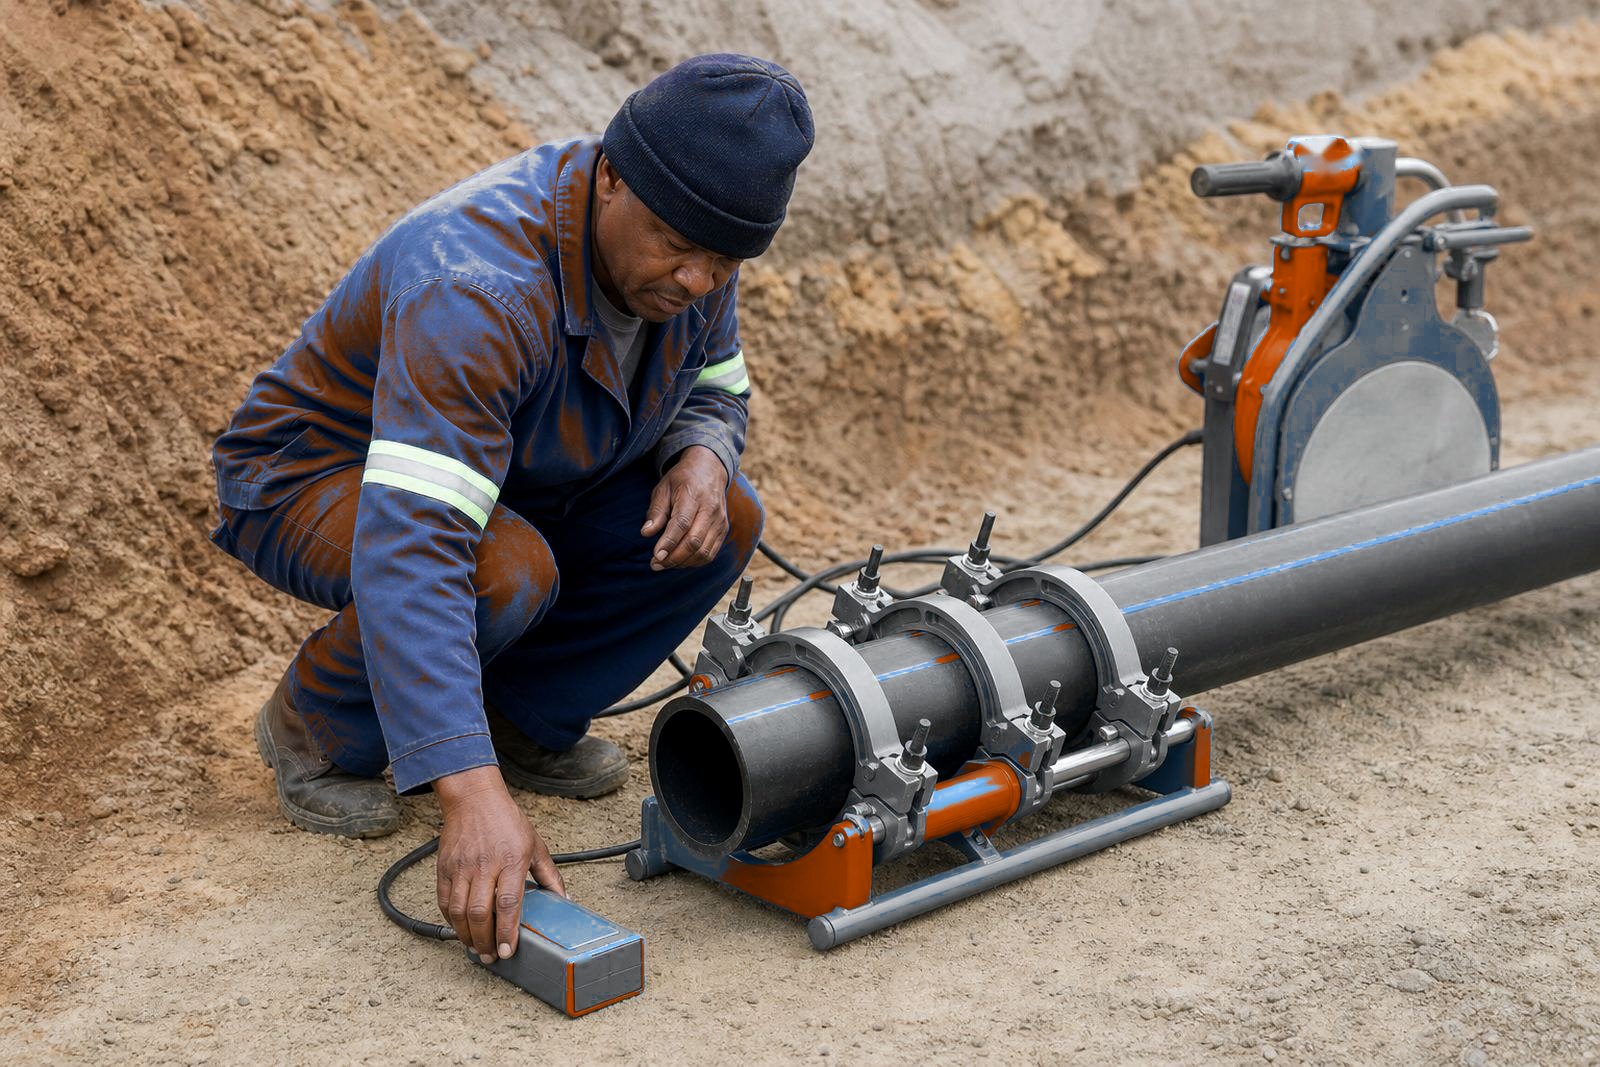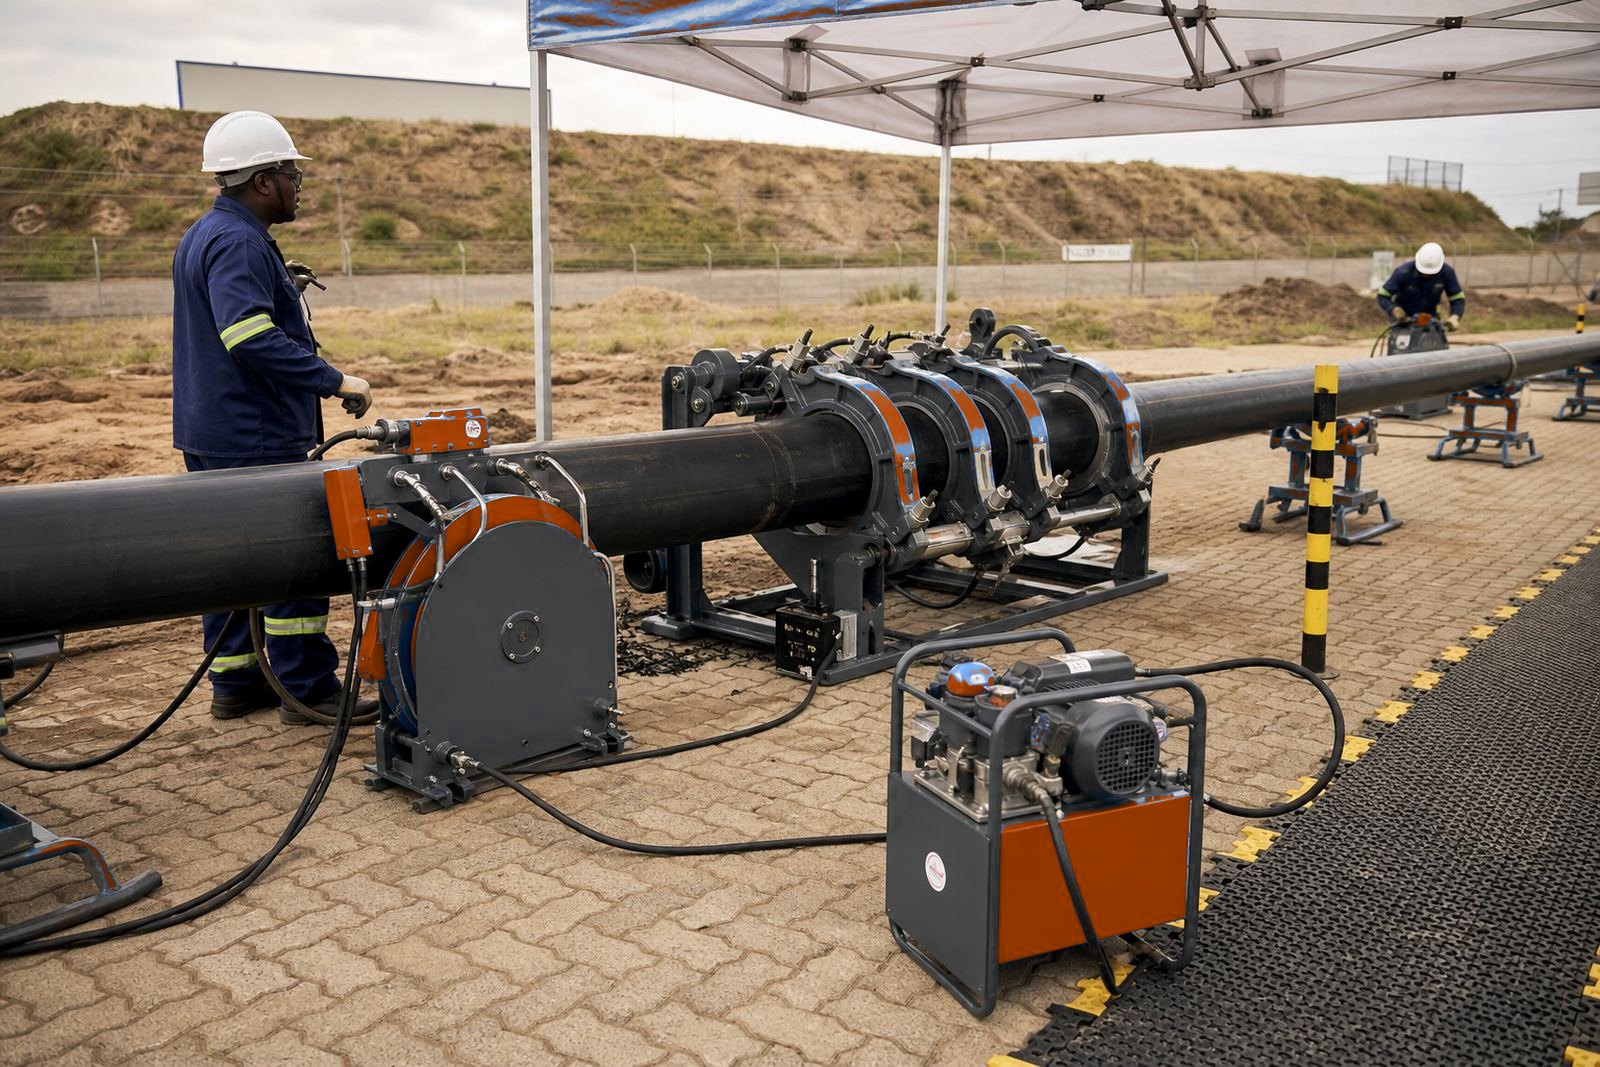

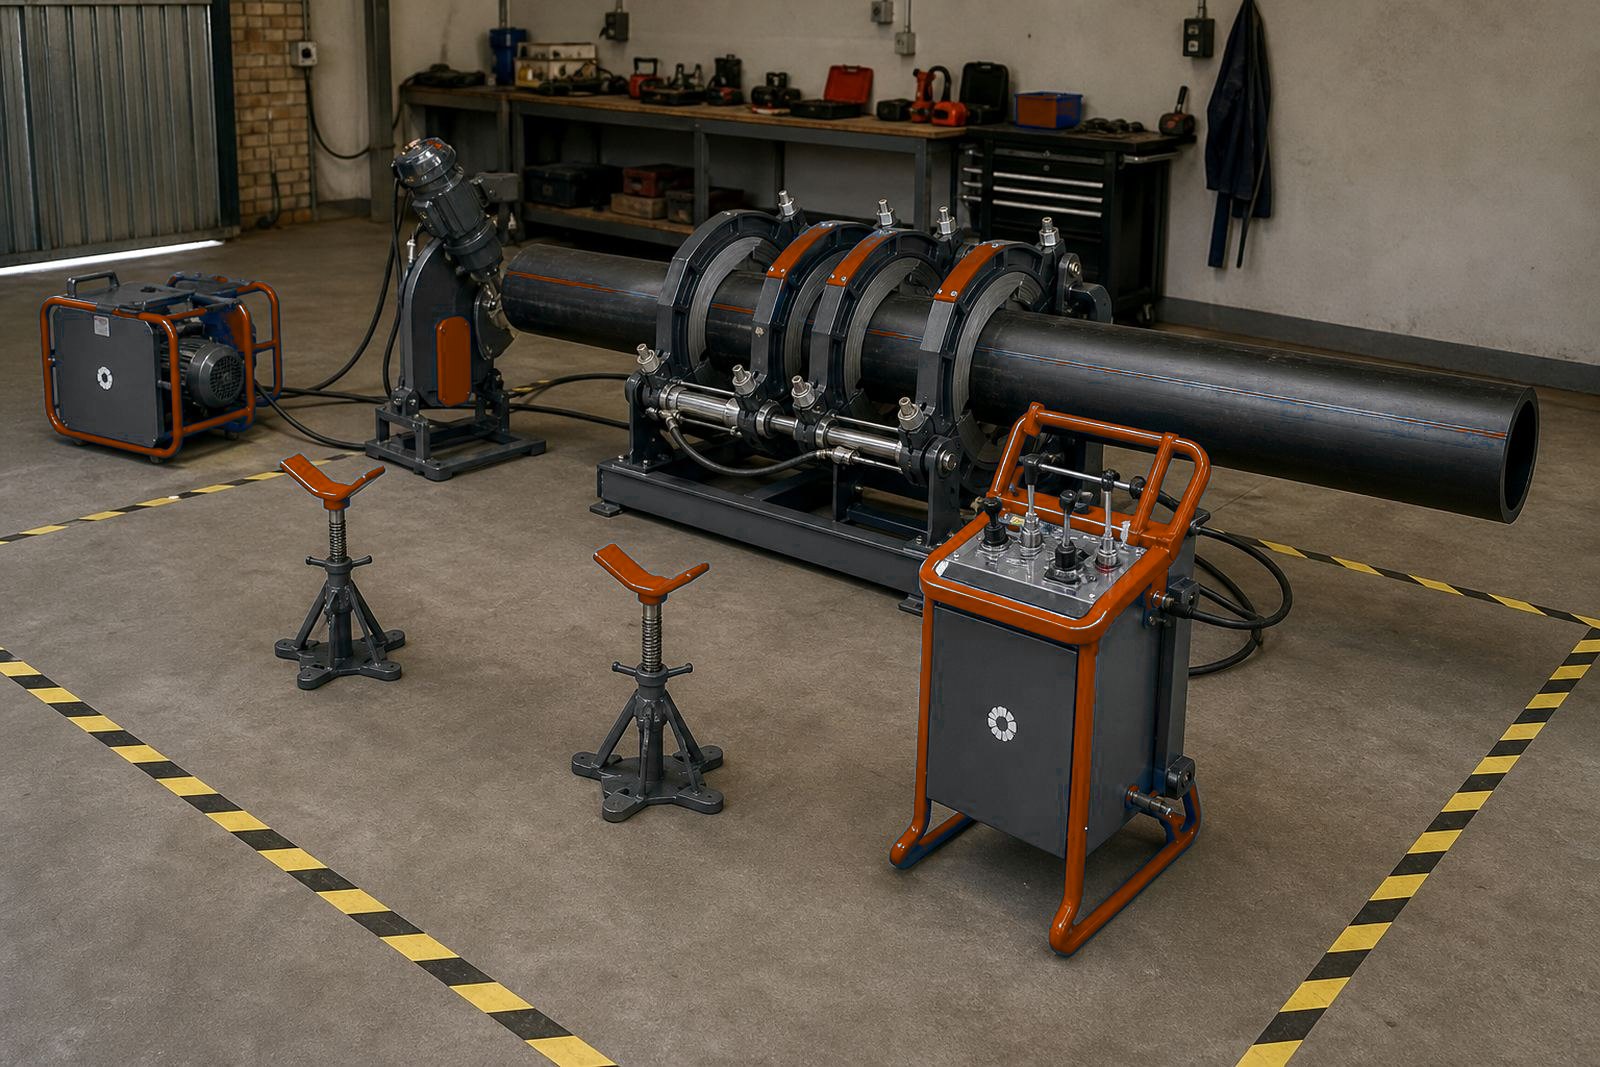
Set the bay around the pipe
Size the bay for the longest pipe length you expect. Butt-fusion work needs room for pipe racks, the machine body, facing tool, heater plate and a clear line for moving the two ends together without scraping the faces. For common workshop jobs on 63 mm to 315 mm pipe, allow enough straight space so the clamps, insert liners and operators are not crowded against walls or columns.
Check the floor finish before the rig goes in. A level concrete floor helps the pipe sit true in the clamps and keeps the fusion line from drifting when pressure is applied. In a busy indoor area, leave walking space behind the operator and a clean path for the heater plate, facing tool and support stands. Dust, offcuts and loose bolts tend to end up in the bead if the work area is not kept tight.
- Allow straight floor space for the full pipe length and machine travel
- Keep at least one clear side for loading, checking and marking the pipe
- Store clamps, liners and tools in one fixed place
- Mark the fusion lane on the floor so pipe, machine and supports stay aligned
Support the pipe so the faces stay true
Pipe support keeps the pipe from sagging. With HDPE, the pipe ends must stay square while facing, heating, changeover and fusion pressure are applied. Drooping pipe pulls the cut out of line and leaves an uneven shoulder. The problem is common on big-bore, thin-wall SDR classes, where the wall flexes more easily.
Use roller stands or fixed supports that match the pipe diameter and the height of the machine centre line. The support should carry the pipe without pinching it. Space stands so the pipe stays level when the facer is engaged. For outdoor feed into an indoor bay, keep grit off the pipe ends before they enter the clamps.
- Keep the pipe level with the machine centre line through the welding cycle
- Use enough stands to stop sag on long pipe lengths
Power, controls and inspection lighting
Most workshop fusion machines rely on stable mains power for the facer, heater plate and hydraulic controls. Plan the socket position so cables do not cross the operator path or lie under the pipe. If the workshop uses extension leads, keep them heavy enough for the load and protected from hot surfaces. A loose connection can interrupt a weld at the wrong moment, and that is hard to rescue once the faces have been heated.
Good light lets you read bead formation and check the final joint. Place lighting so the operator can see the full circumference of the pipe, including the underside. If the bay is used for data logging, leave space for the recorder or control unit, with the screen set where the operator can record fusion pressure, heat soak time, changeover time and cooling time without turning away from the joint.
- Keep power points clear of water, swarf and traffic routes
- Route cables away from the heater plate and moving clamps
- Provide bright light across the full joint line
- Leave room for data logging gear and written records
Plan the weld sequence before the first clamp closes
A clean workshop layout supports a steady fusion sequence. After the heating phase, the plate is removed, the pipe ends are brought together during changeover, fusion pressure is applied and the joint is held through cooling time. Every step needs room and a clear crew role.
Before the machine starts, compare the wall class and pipe dimensions with the job sheet. The setting changes with diameter and wall thickness, so the operator reads the timing and pressure from the weld chart. A good setup gives space for the machinist, helper and inspector to move without crossing over the pipe ends. It also leaves room for bead inspection once the joint has cooled enough to handle.
- Assign one person to the controls and one to handling
- Reserve space for joint inspection after cooling
Training corner for operators and new crews
Even a well laid out bay can fail if the crew is unsure of the sequence. A training corner in the workshop lets new operators learn pipe set-up, facer use, heater plate handling and pressure control away from the production bench. This is also where refresher training can cover bead appearance, common alignment faults and the records needed for work that must be traced later.
Keep the training area close enough to the main bay that the same supports, clamp sizes and controls can be used. A separate bench for notes and spare inserts keeps the work area tidy. For teams that rotate between jobs, a fixed indoor training point keeps the method consistent.
- Use the same clamp sizes for training and live work
- Keep sample pipe sections for setup practice
- Store weld logs, pens and job sheets in one place
- Set aside a safe area for heater plate handling
Daily checks before the bay is opened
The floor should be clean, the supports steady and the machine positioned square to the pipe line. Look over the facer blades, heater plate surface, hydraulic hoses and clamps before the first weld of the day. Heavy plate build-up or a poor facer finish means servicing that part before joints suffer.
Weld logging also starts here. Record pipe size, SDR, operator name, heating time, fusion pressure and cooling time for each weld. A neat record helps when a joint must be reviewed later, especially on long water runs where the line is inspected in sections. Bead inspection should show an even roll around the full circumference, with no obvious pull apart or cold line.
- Inspect heater plate, facer and clamps before use
- Check hydraulic pressure test points where fitted
- Log every weld with the main process values
- Look for even bead shape and full circumference contact