Start With a Level Working Line
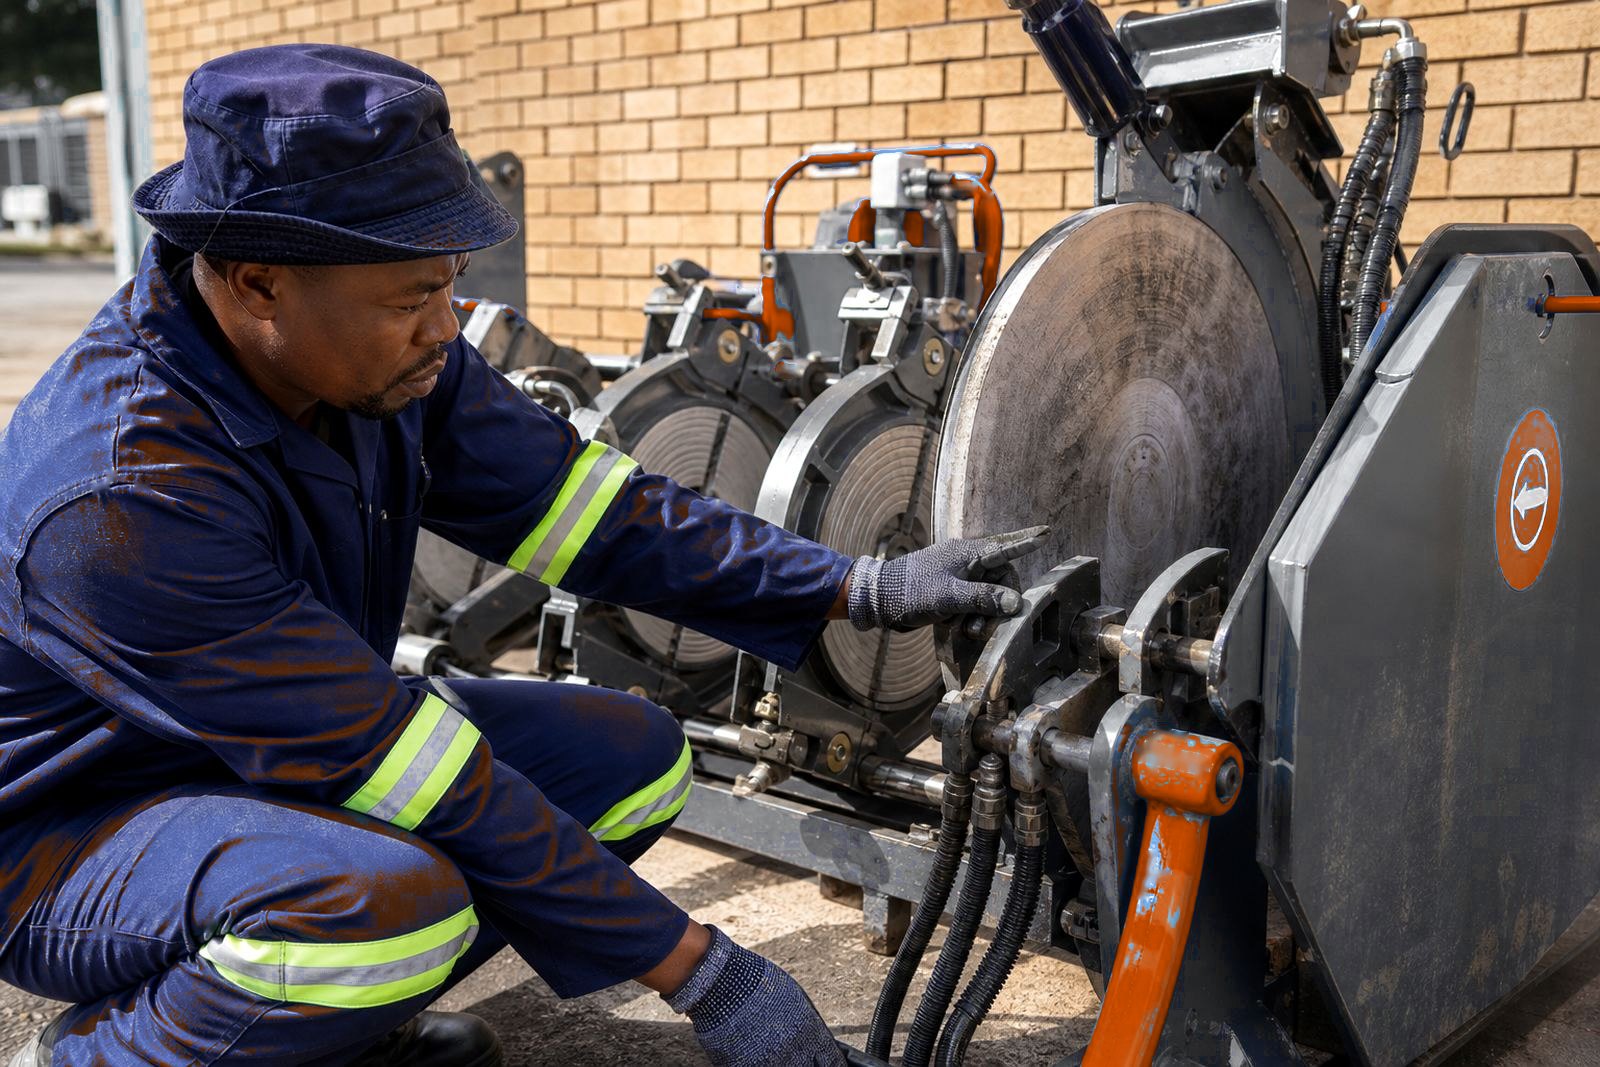
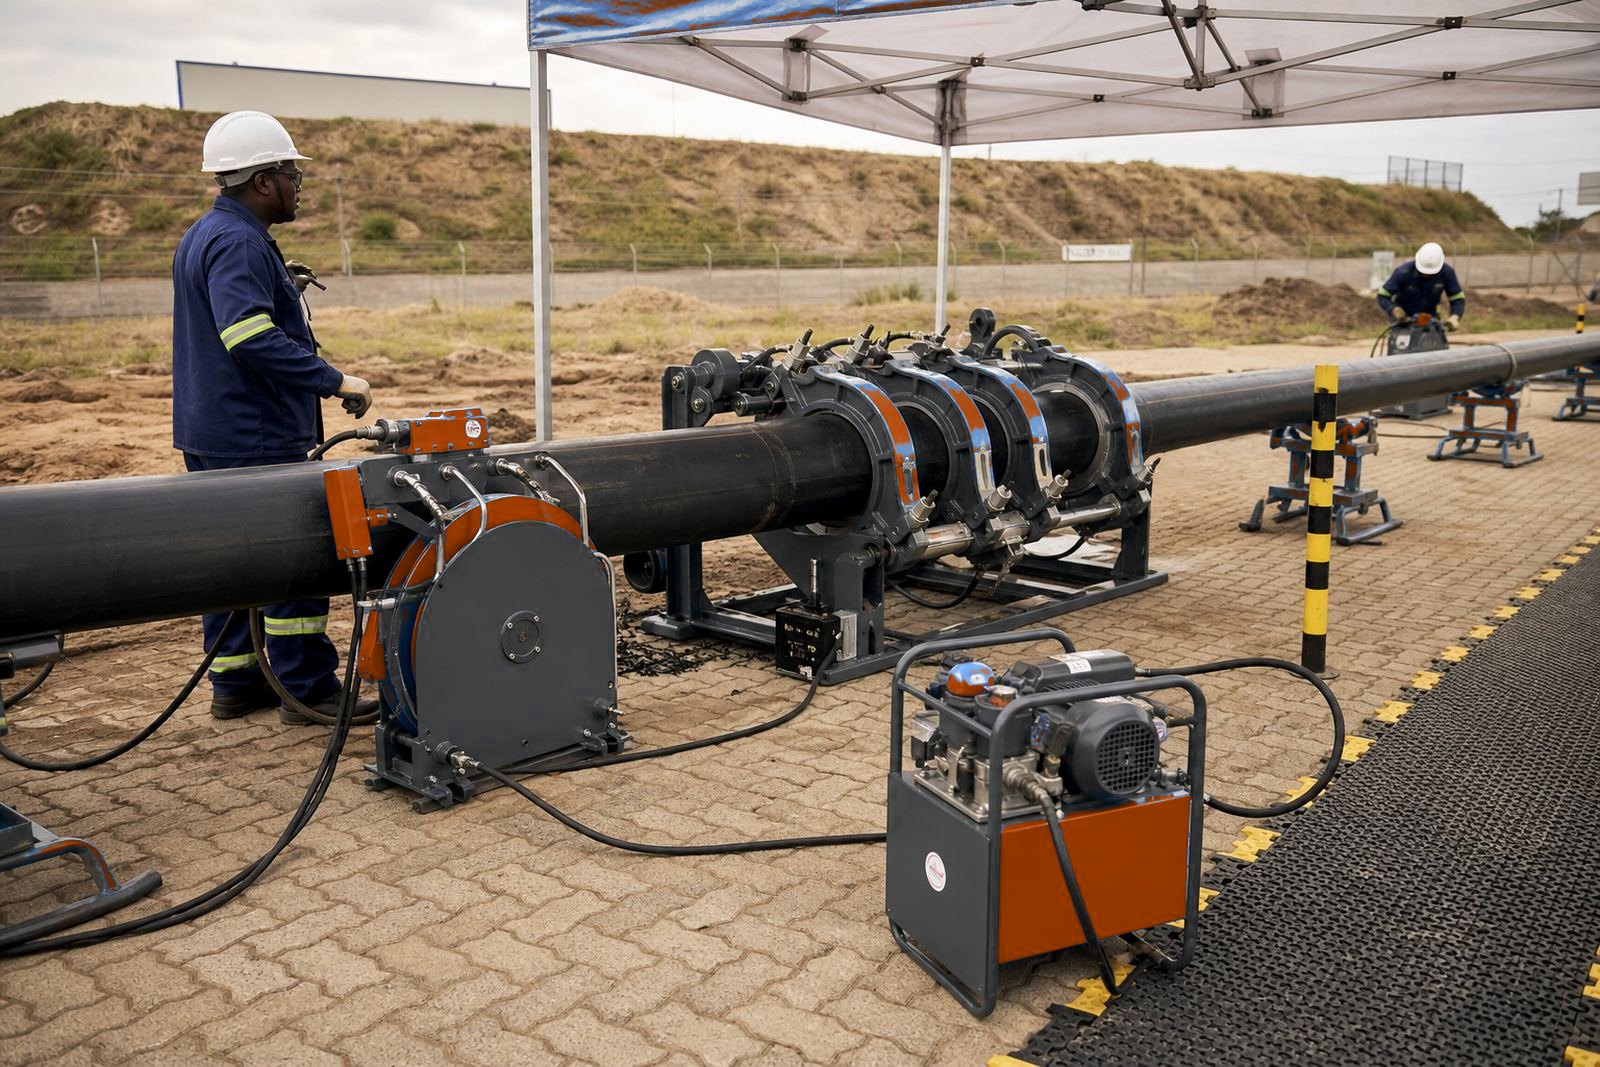
Set the machine on firm ground before any pipe is lifted into place. A level bed helps the jaws close evenly, keeps the facer square to both ends and reduces the chance of a drift in alignment once the hydraulic pressure comes on. On a concrete slab or compacted yard, check for soft spots, loose stone and standing water near the setup area.
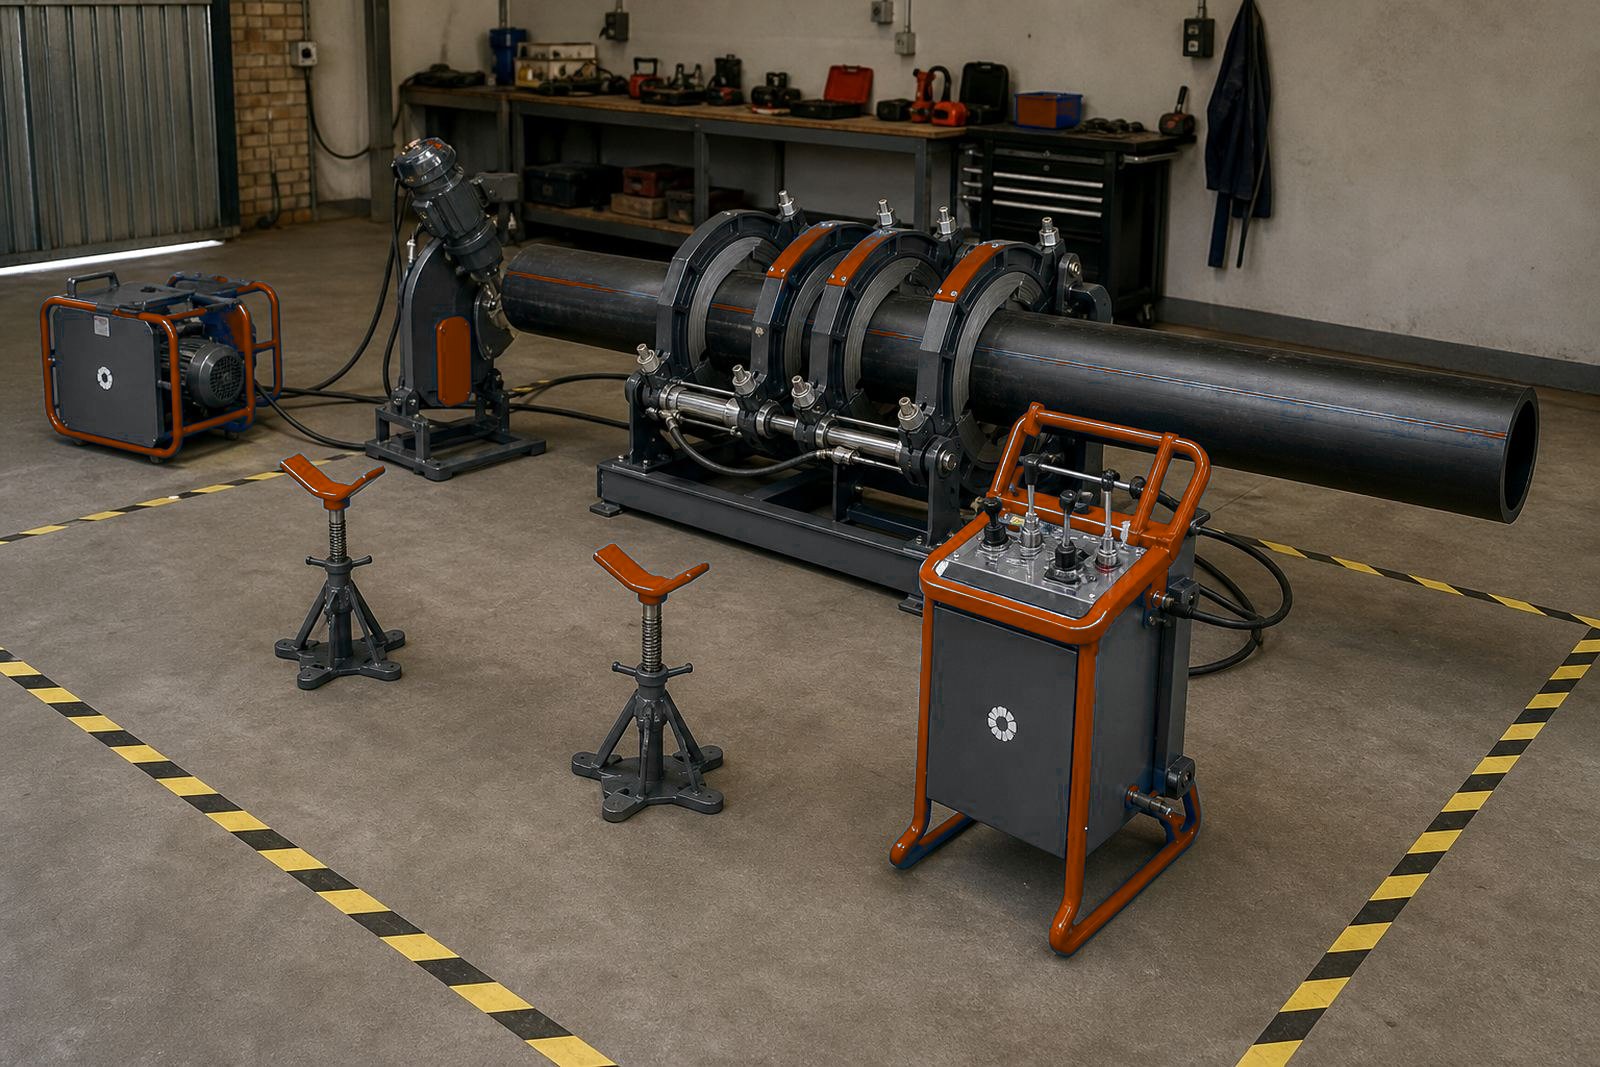
Leave enough straight length on both sides for the pipe to be clamped, faced and moved through the changeover without strain. In busy yards and municipal depots, mark out the working line with paint or chalk so the operator, helper and machine all stay on the same axis.
- Choose a flat, load-bearing surface
- Keep the machine square to the pipe run
- Keep hoses and cables clear of the working path
Support the Pipe Along Its Length
HDPE pipe needs support on both sides of the machine, especially on larger diameters and longer lengths. Sagging pipe overloads the jaws and the butt face can open or twist. Use pipe rollers, stands or packed supports at a height that keeps the pipe centreline steady from end to end.
For longer runs, place extra supports at regular spacing so the pipe does not drag when the ends are being brought together. This applies on SDR changes too, because heavier wall sections and larger sizes need more control during facing and alignment. A helper should watch the pipe ends from the side as well as the machine controls, because the eye picks up small movement early.
- Support both pipe ends at the same height
- Use extra stands on long or heavy lengths
- Check that supports do not create a bend at the jaws
Set the Shelter Over the Weld Zone
A sheltered space helps with dust, wind and rain, but the cover must also let the operator work safely around the machine. On coastal jobs, salt air and damp mornings can leave moisture on the heater plate and pipe surface, so the area should be dry enough for cleaning and inspection before heating starts. Plan for dust control as well as rain cover in open yards.
Keep the shelter open enough for ventilation and movement. Heat build-up near the heater plate can make handling awkward, while a tight enclosure can trap fumes and reduce visibility on the bead line. Shade lowers the pipe surface temperature, and the operator needs clear light across the pipe ends, the control unit and the fusion face.
- Keep moisture and grit off the floor around the welder
- Block wind without closing off the work area
- Allow clear view of the bead and pipe faces
- Keep cleaning cloths and scraper tools close by
Face Cleanly Before Heat Is Applied
The cut face must be even, square and free of gouges. Any dirt, moisture or oxidised skin left on the edge can affect the fusion face and the bead that forms after pressure is applied. Wiping and facing belong together, with both done as part of the same weld preparation.
After facing, remove the facer carefully and inspect the pipe ends before moving to heating. Do not rush the changeover. The exposed faces should stay clean and should not be bumped against the jaws, the ground or nearby steelwork. On site startup work, check this step on the first joint.
- Face until both ends are fresh and square
- Check for burrs, chips and contamination
- Keep the newly faced ends off the ground
Control Heat, Pressure and Timing Together
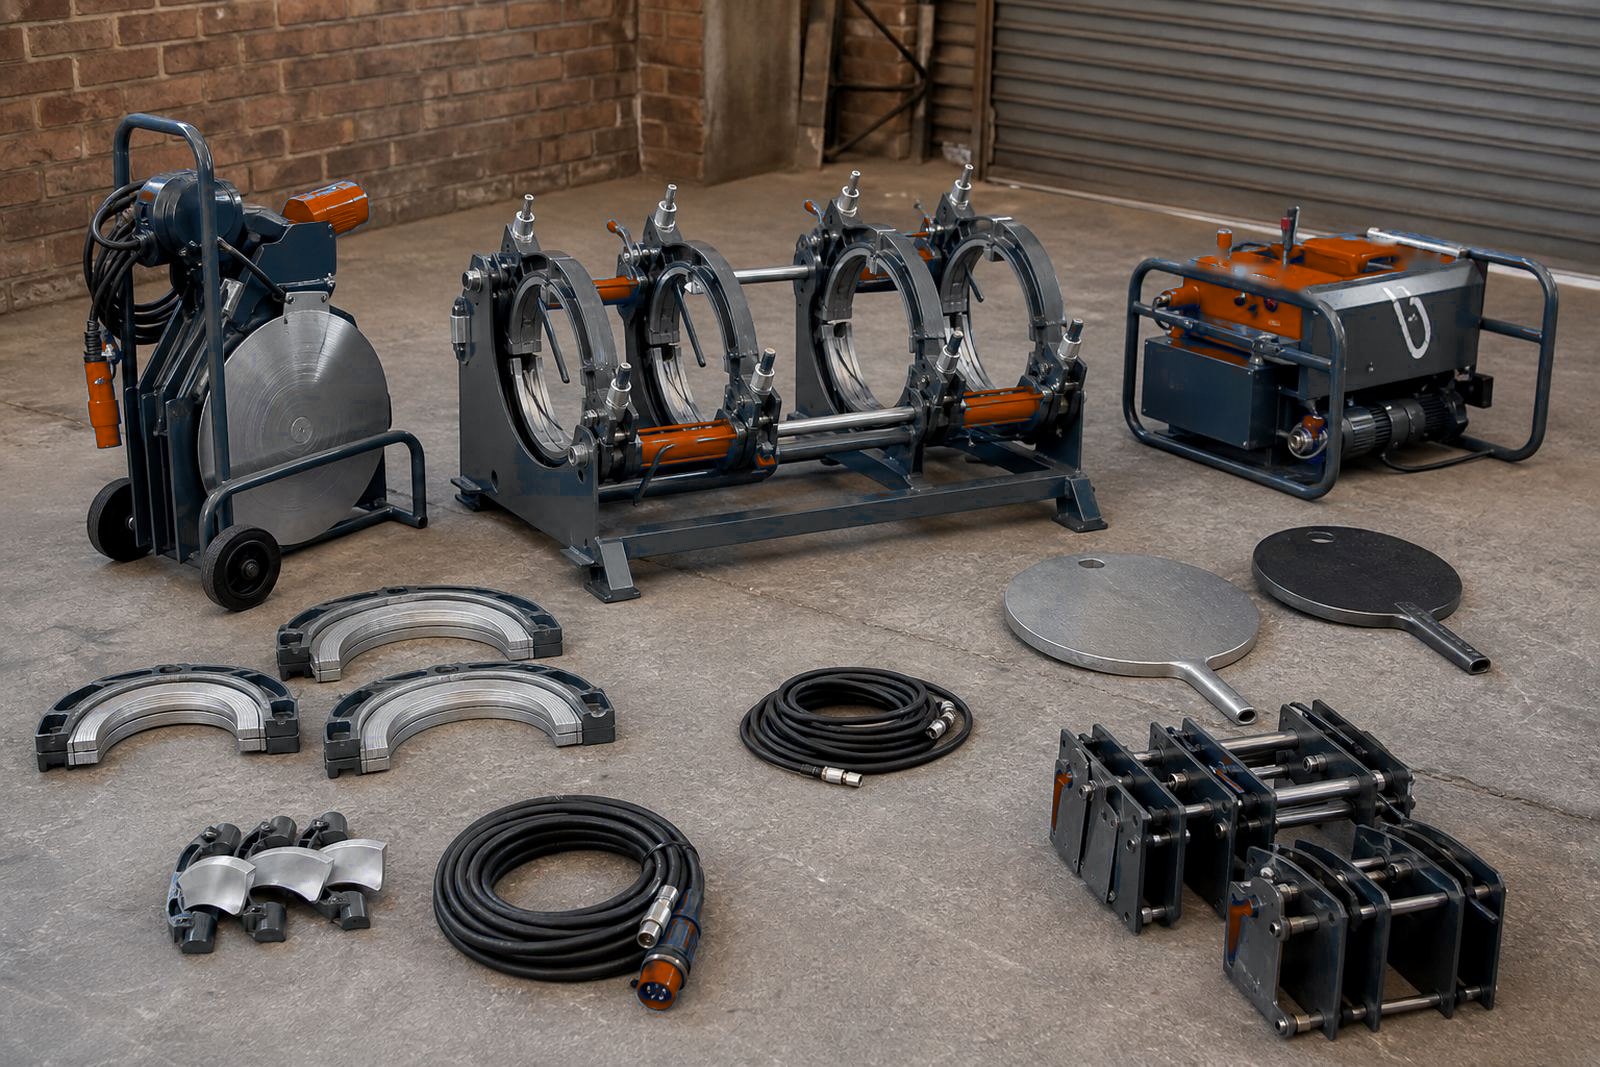
Site setup brings heater plate temperature, heating soak, changeover and fusion pressure into line. Wall thickness changes how the bead forms and how long cooling lasts, so SDR is known before setup. A light pipe and a heavy wall pipe do not behave the same way under pressure.
Once the pipe faces are heated, the operator removes the plate, brings the ends together during changeover and applies the set fusion pressure without hesitation. A rushed move or a delayed clamp release can spoil an otherwise sound weld.
- Check heater temperature and plate condition
- Keep changeover short and controlled
Use Logs and Bead Checks to Close the Job
A data log records temperature, pressure, time and operator details for each joint. It helps with handover, later inspection and internal job records, especially on mine service work where the pipe run may be hidden once buried. Tidy logs are matched to joint numbers.
A lopsided bead, visible gap or burn mark points to a setup, pressure or timing fault. The joint should cool fully before the clamps are released and the pipe moved. At that stage, the setup area should be cleared and the next joint readied in the same order.
- Keep a joint log with size, SDR and operator notes
- Check bead shape around the full circle
- Release clamps only after cooling is complete
When the Crew Needs Training
Hire support for repeated shifts is arranged through setup visits. Book a heater plate check before the site setup if the plate has not been checked this season.
Refresher training keeps the sequence straight where the pipe route changes often. New teams on larger diameters or tight sites can book site startup help.
- Site Startup Help for new work areas
- A supervisor on the first shift with new operators