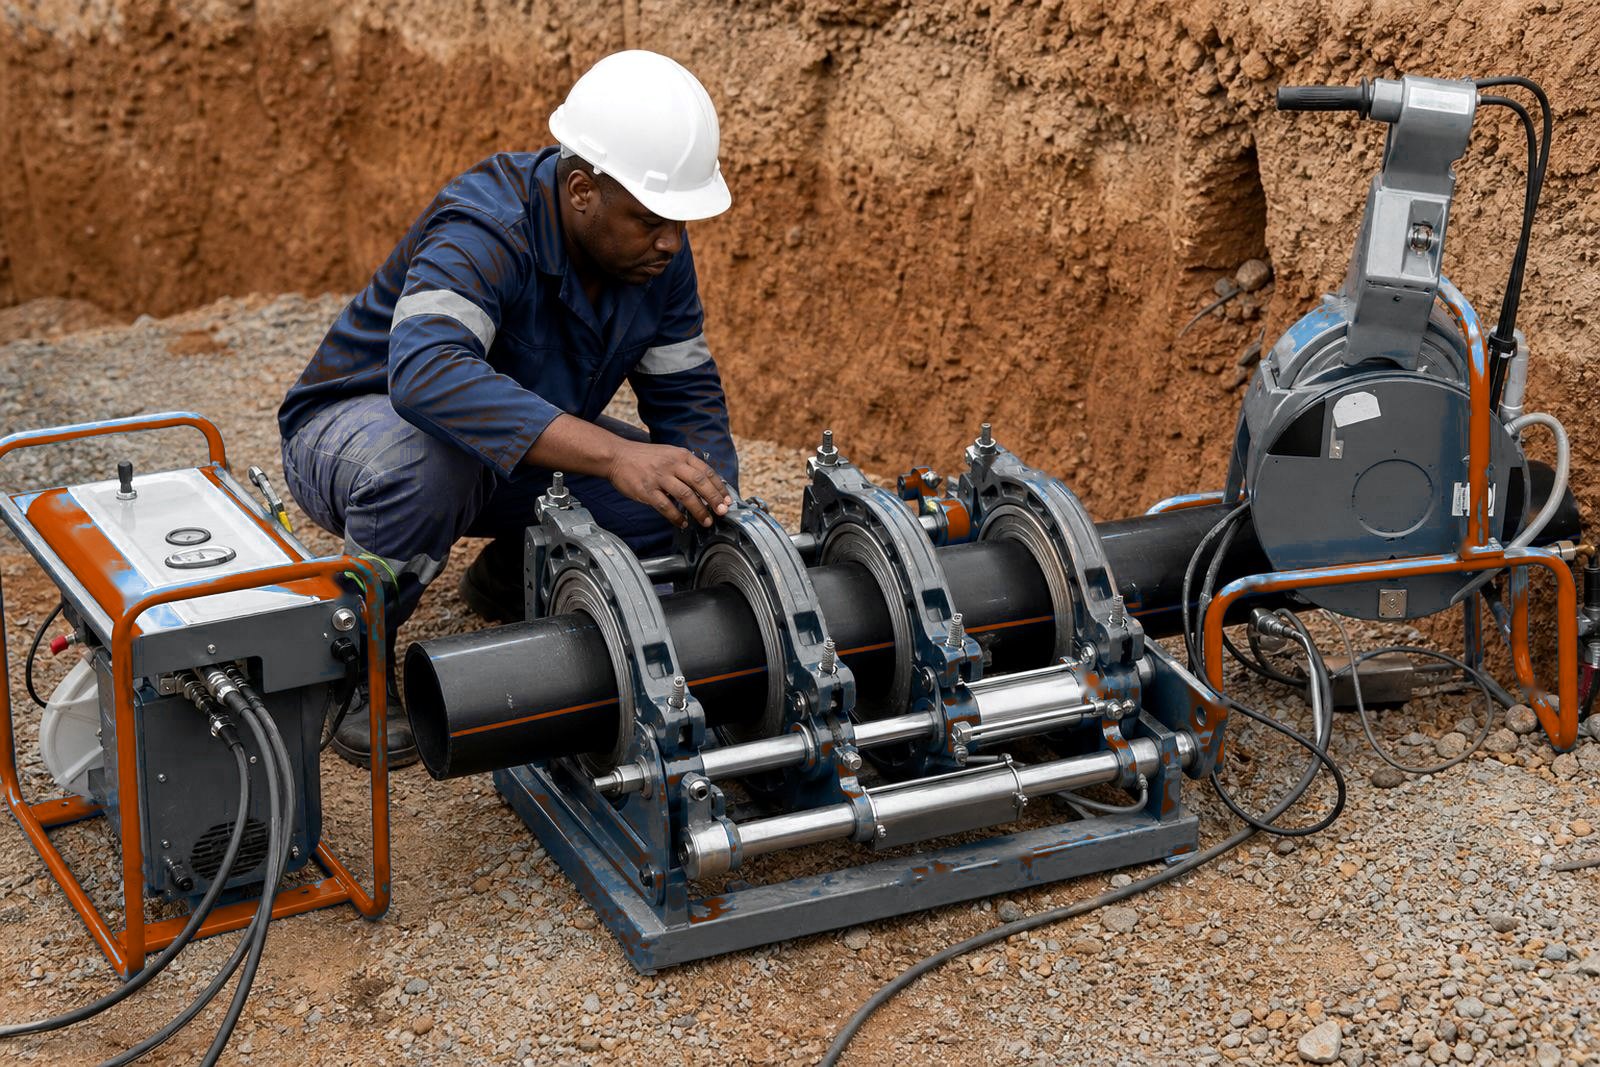
Pipe ends before the machine
Usually, the first check is the simplest. Look at the cut ends of the HDPE pipe and make sure they are round, clean and cut square. Cut back a nicked end, a crushed oval or a badly cut face before facing.
Pipe size against machine setup and SDR against the job are the first two checks. Check the machine range against the pipe diameter and wall thickness before welding. Pipe ends often arrive on site with dust, mud or fine grit on them, so the crew wipes them down first.
- Check for ovality before loading the pipe.
- Remove dirt, sand and moisture from the ends.
- Reject ends with deep gouges or flattened sections.
Clamp alignment and the joint line
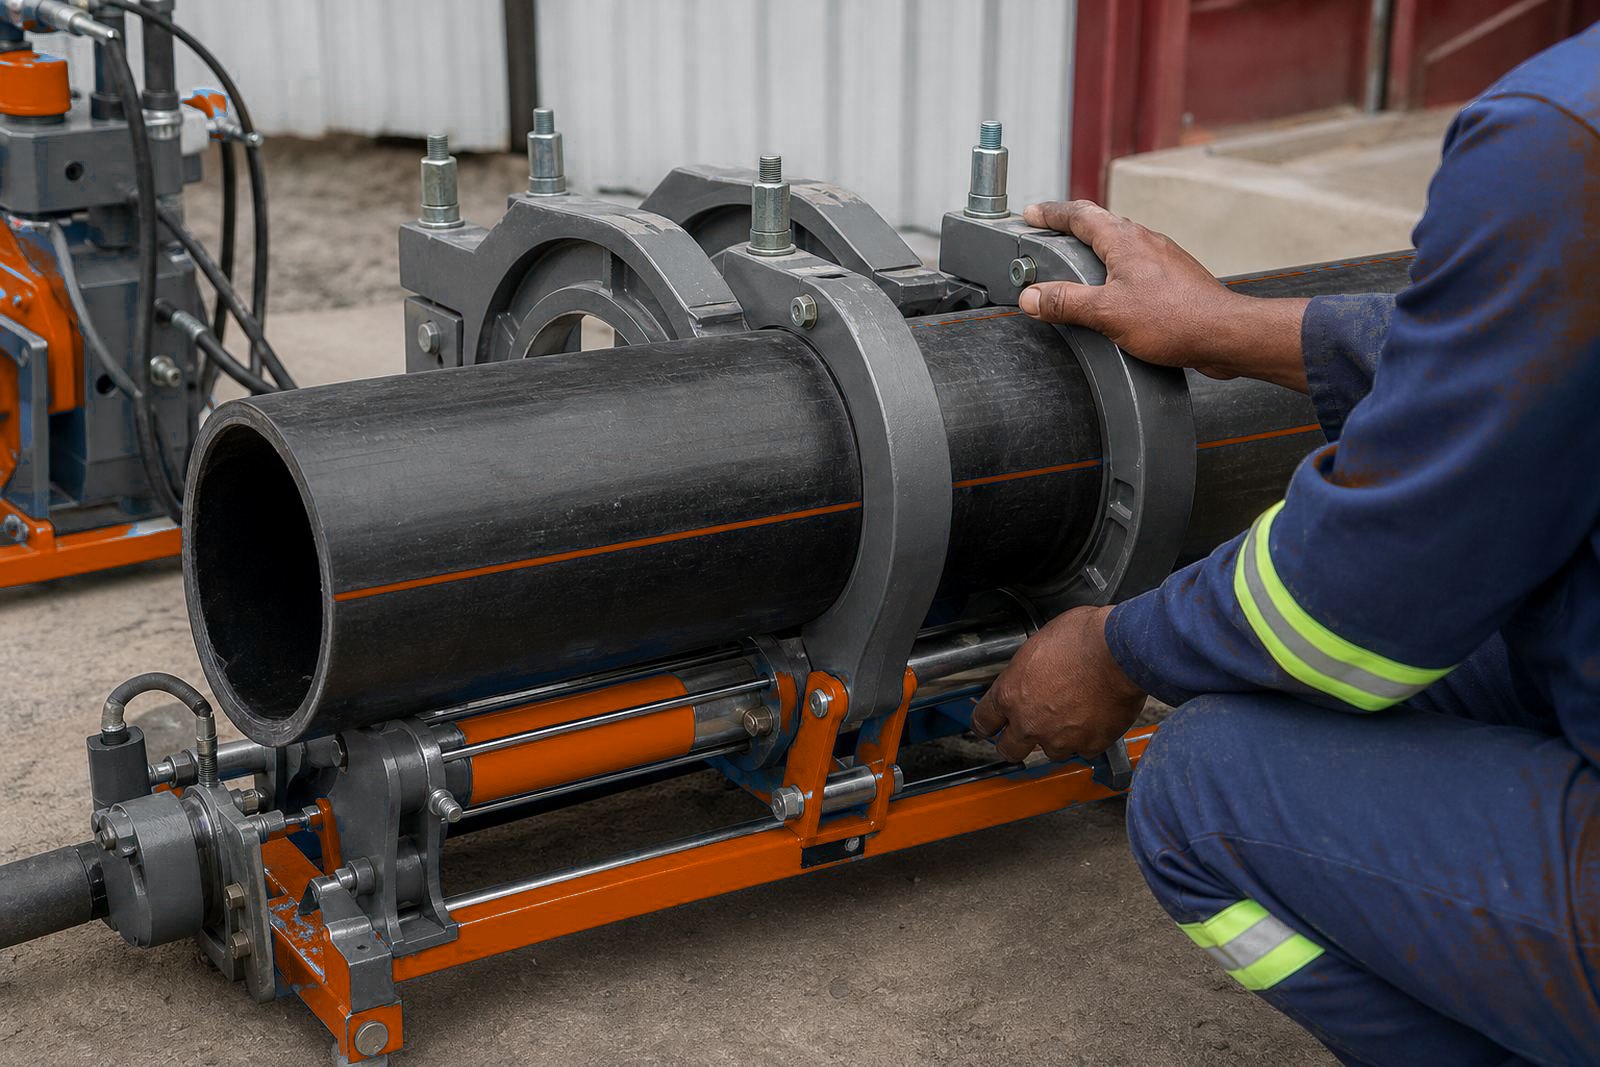
Line and height get attention once the pipe is in the clamps. The two ends should sit level with each other, without a step at the top or bottom. Even a small misalignment can lead to a weak bead profile and extra stress in service.
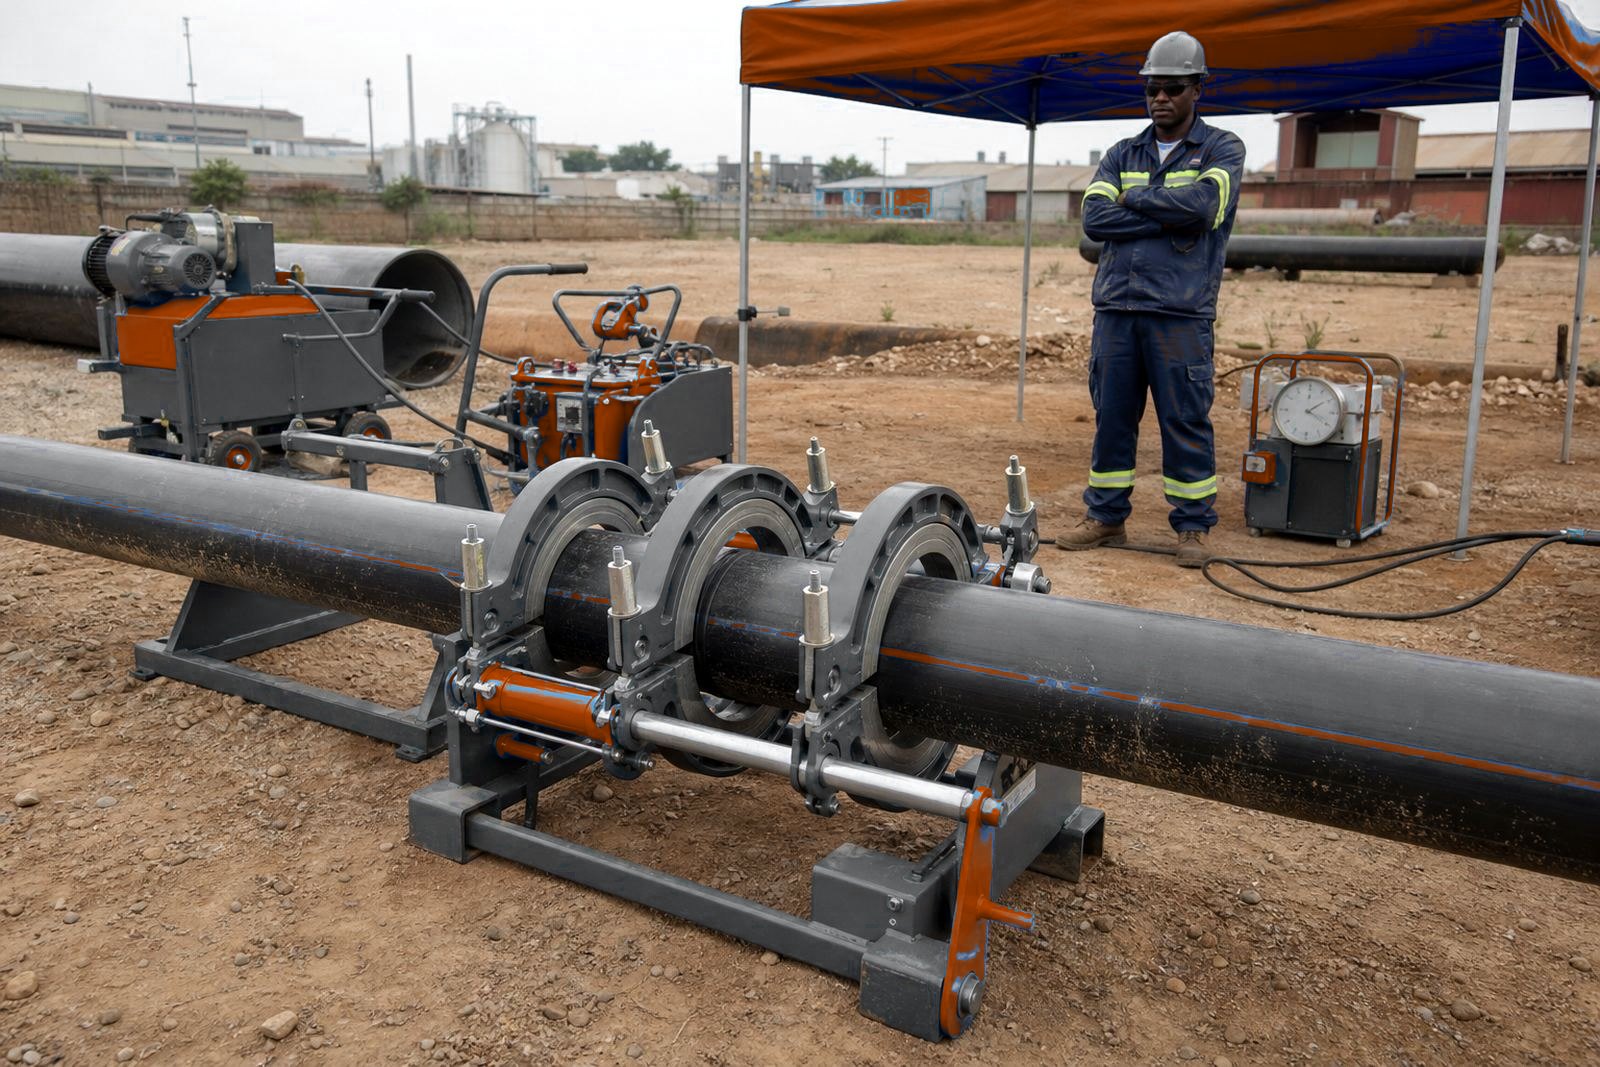
Clamp alignment needs checking when the pipe is longer and carries its own weight. On site, a pipe that sags from one side will pull the joint out of line unless the supports are set correctly. Check the pipe support around the machine before each weld.
- Check clamp grip before facing starts.
- Keep long pipe runs supported so they do not dip
Facing, heating and changeover need one clean sequence
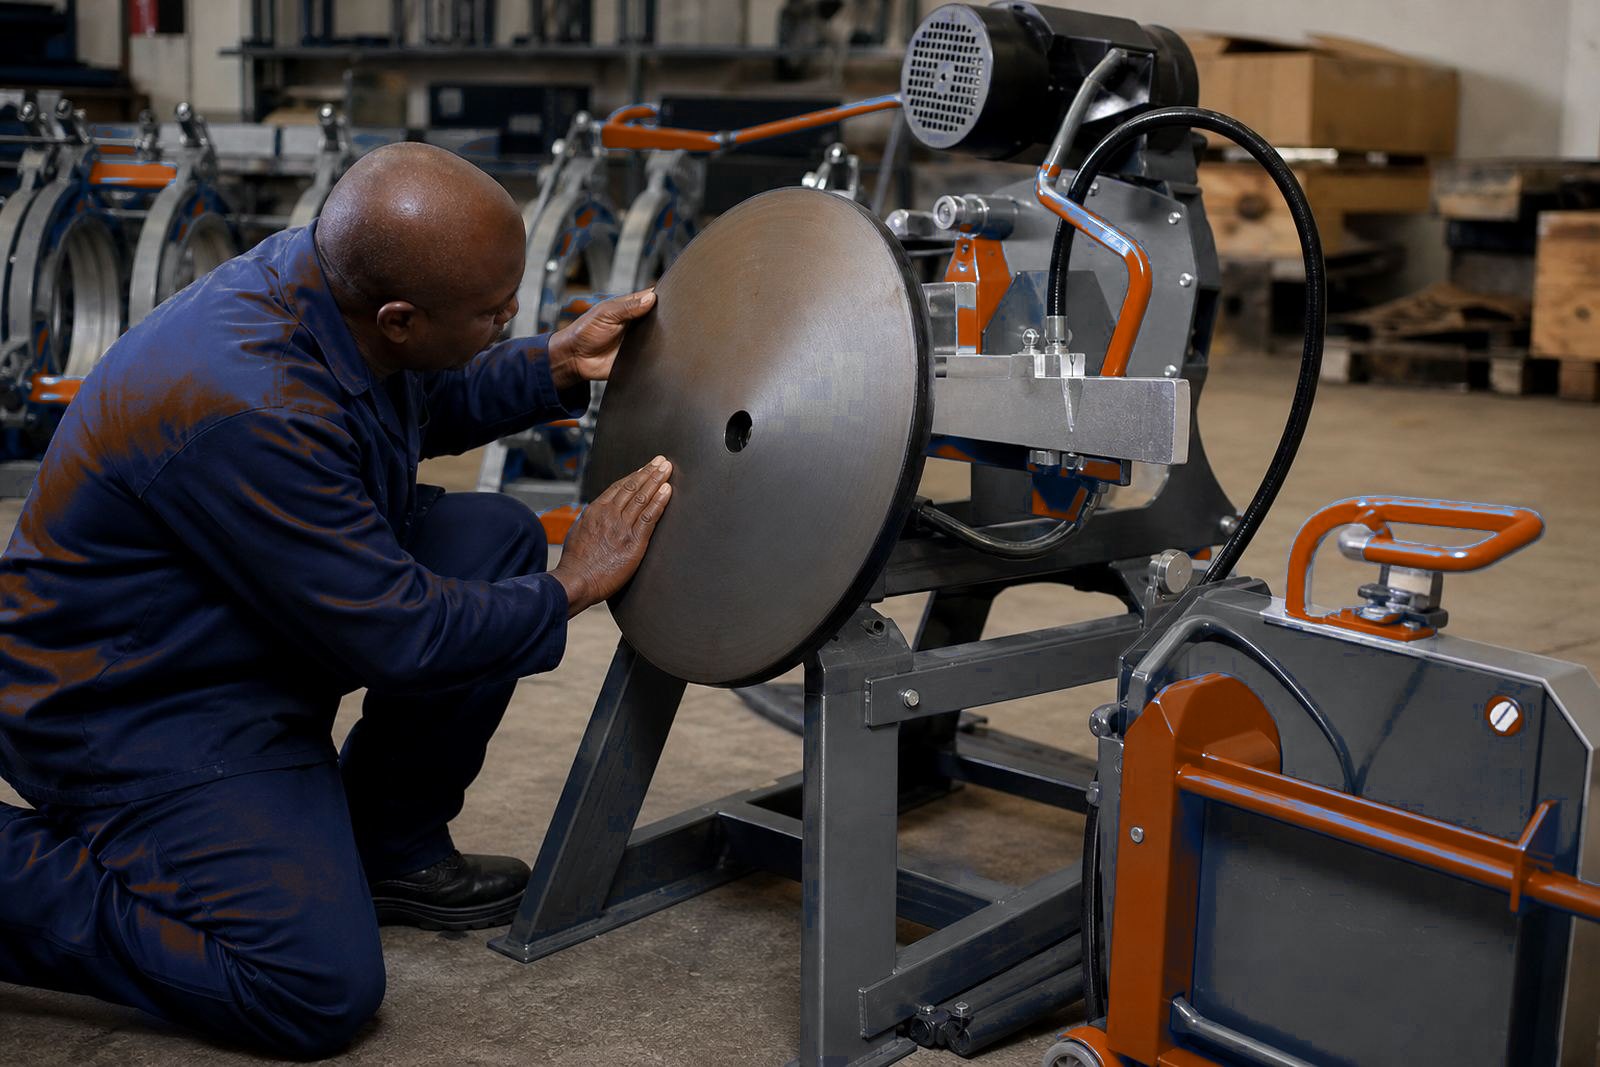
The facer should take off a clean, even shaving from both ends. If the cut is patchy or one side leaves a rough face, the pipe may not be square enough for a proper fusion. After facing, the chips must be removed and the ends kept free from dirt or touch marks.
Plate temperature, soak time and changeover time are set together on the weld sheet. A plate running cool or hot changes the melt pattern. A slow changeover can cool the faces too much before they meet, while rushed handling can drag dirt into the weld area. On larger pipe sizes, the timing becomes even more sensitive because the mass of material holds heat for longer.
Before the run starts, check the plate surface for damage, build-up or uneven heating. A clean plate and a sound facer give the first weld its best chance of passing inspection.
- Inspect the facer blades and chips.
- Confirm the plate temperature for the pipe spec.
- Keep the changeover sequence steady and planned.
Fusion pressure and cooling time need exact control
Pre-weld checks confirm the press-stage pressure and the cooling period under clamp pressure. Low pressure can stop the melt faces knitting well. High pressure gives an oversized bead and can distort the bond line and the pipe wall.
Time the cooling stage as closely as the heat stage. Opening the clamps early or moving the joint before it has settled can spoil an otherwise good weld. That is a common problem on busy civil jobs where crews are under pressure to keep the trench moving. The damage is found later, when the line is tested or put into service.
Operators should work from the weld procedure for the pipe diameter and SDR in front of them, kept at the machine. A proper setup keeps the same pressure path from joint to joint.
Bead shape and logging after the weld
Once the joint cools, inspect the bead all round. A uniform bead around the pipe usually suggests the ends were aligned and the heat cycle was managed well. A bead that is lopsided, narrow in places or oversized on one side deserves a closer look before the line moves on.
The weld log keeps a record of what happened on the machine. Each entry holds the pipe size, SDR, weld number, pressure values, time stages and any notes about site conditions. The record shows what was done on a specific joint if someone asks later.
Visual inspection is a key step. If a weld looks wrong, stop and inspect it before the line is buried.
- Check the bead all the way around the joint.
- Record pressure, time and pipe details.
- Note any wind, dust or moisture issues nearby.
- Separate suspect welds for review before the trench closes.
Checks across a mixed week of sites
A crew may have one day on a water reticulation job and the next on a larger pipe size. Small checks change from site to site on the same machine. Dust on the pipe ends, a heater plate with residue, a facer that needs attention or a clamp that is slightly out will show up fast once the first pipe is loaded.
Complete the pre-weld checks before every joint. They keep the job moving and they reduce the number of joints that need to be cut out later.
For teams using hire equipment, the same routine still applies. Check the pipe, check the machine, check the settings, then start.