Cooling: the last stage
Cooling is the stage where the HDPE joint settles into its final form. After that, the material still needs time to stabilise while the joint cools under controlled conditions.
Crews sometimes treat cooling as dead time. During this stage the molten interface turns into a solid bond and the outer bead firms up. Disturbing a soft joint moves the alignment, flattens the bead and leaves hidden stress. Careful handling comes before speed in this stage.
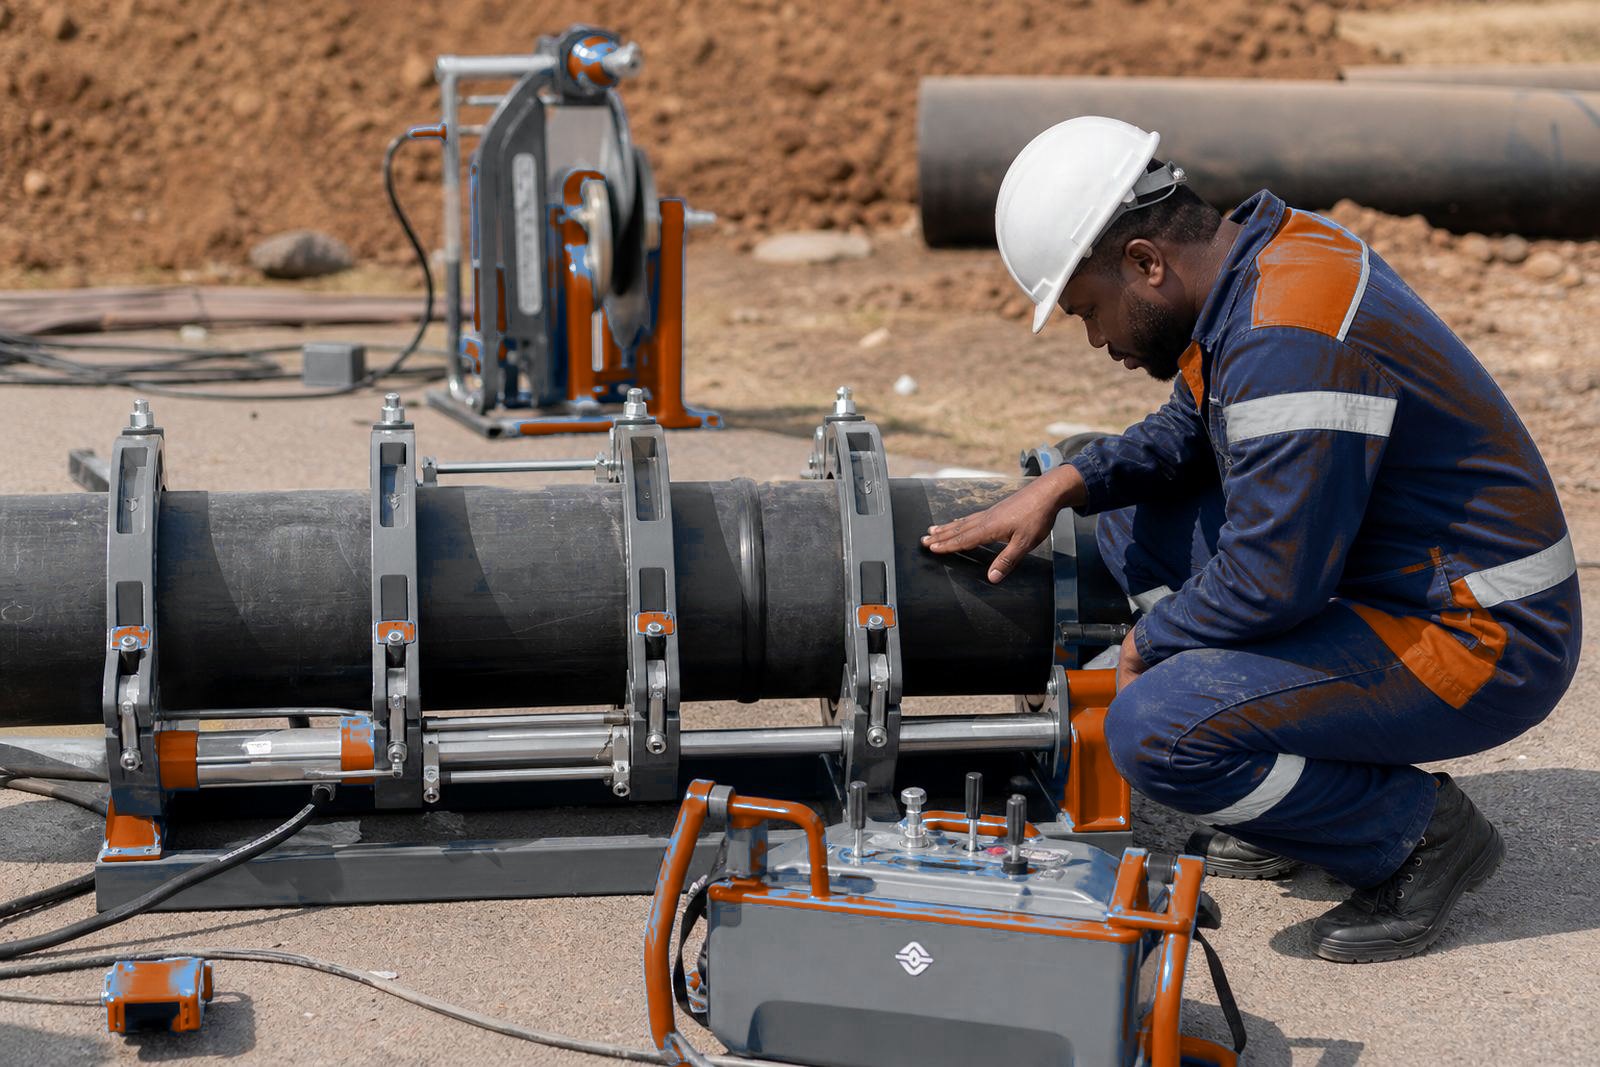
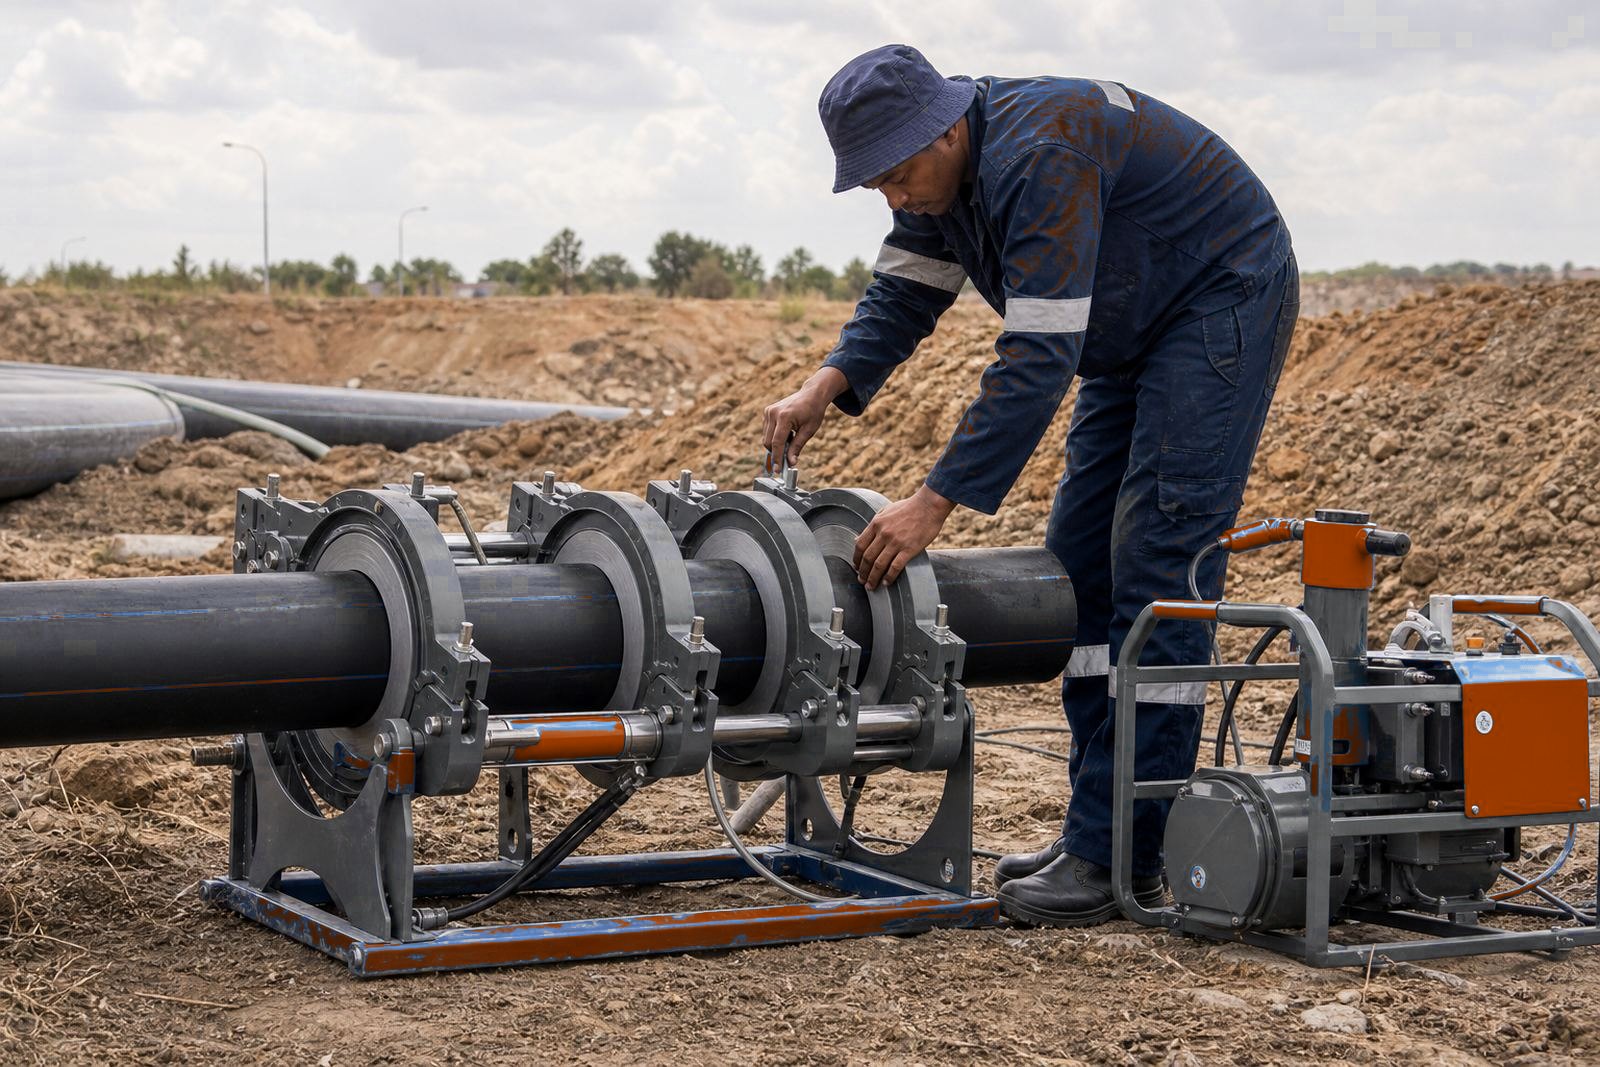
The same rule applies in the yard and on a trench line outside Rustenburg. A clean weld can still be spoiled by a rough lift, a twist during rigging, or a hurried pull off the machine before the joint has had time to settle.
What cooling time is doing inside the joint
Cooling time lets the heat leave the weld zone at a steady rate. The molten layer between the pipe ends needs to shrink and lock in without being disturbed. That is also the stage where the bead develops a firmer profile and the joint starts to resist handling loads.
Larger diameters hold heat longer, while thinner wall sections may cool faster but can still distort if handled too early. Different jobs place different demands on the same basic process, so the crew should read the job sheet and the machine setup together.
For a 160 mm line in a yard the wait may feel short, yet the same crew on a larger diameter run in Polokwane can face a very different cooling profile.
- Support the pipe properly to avoid putting extra bend on the joint.
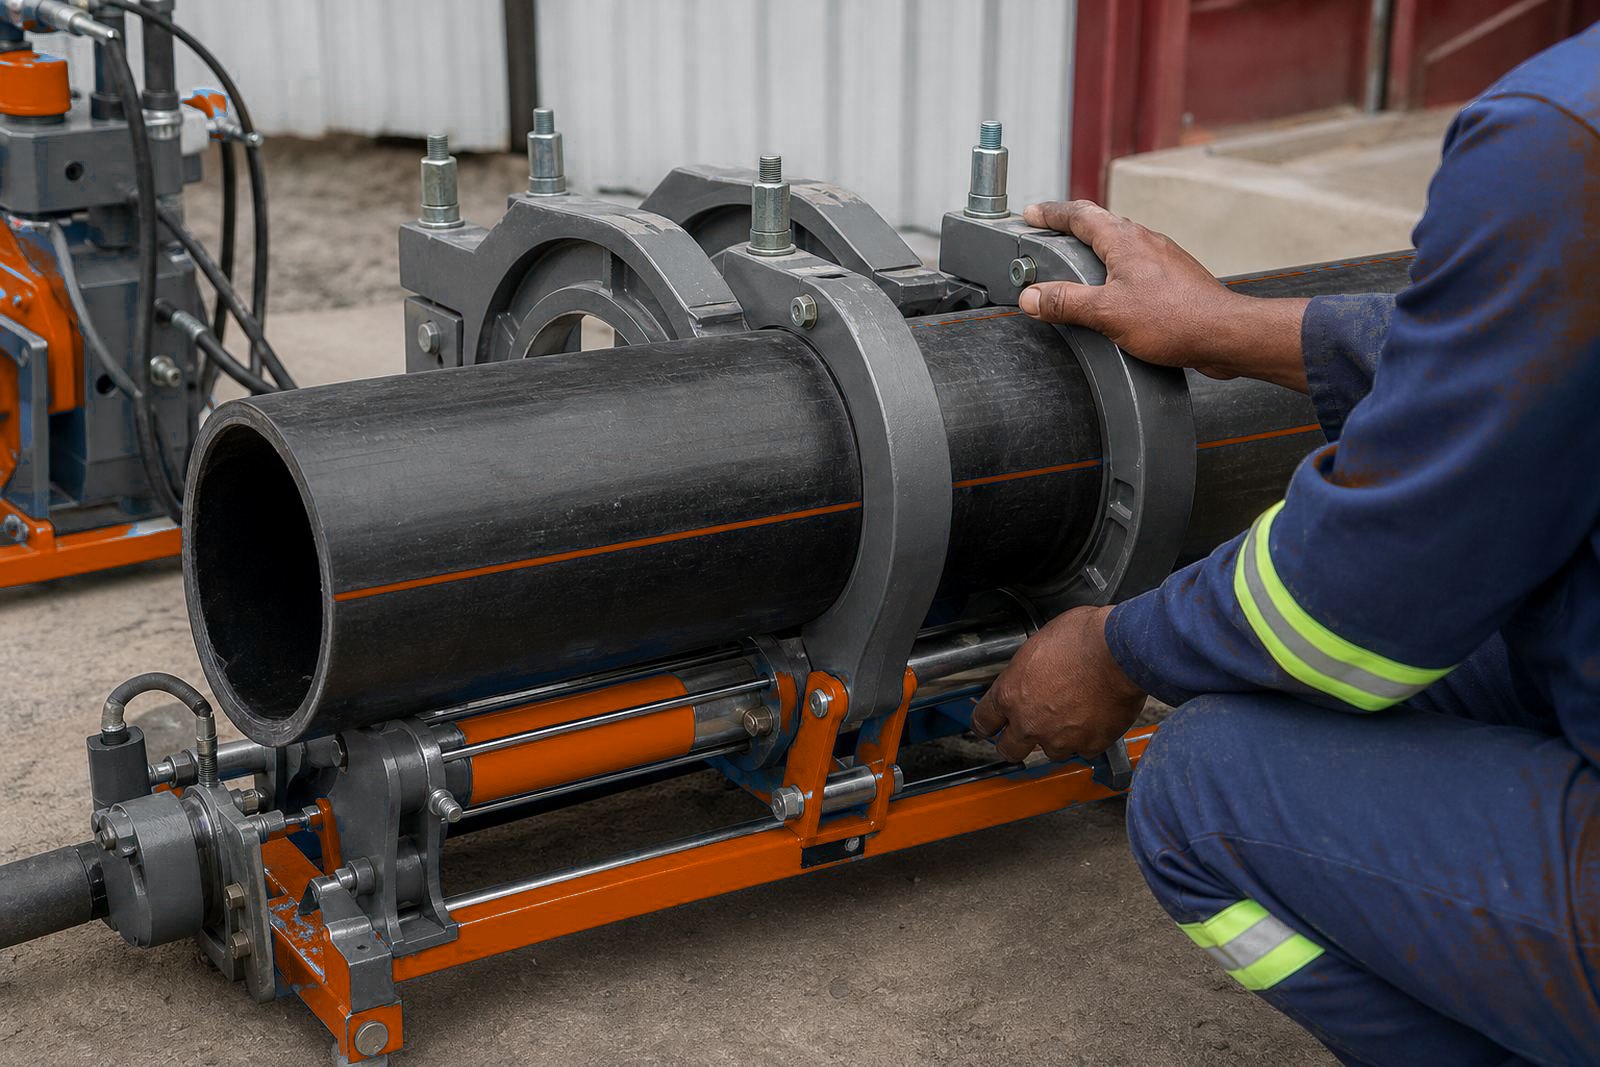
- Leave clamps in place until the prescribed cooling period has passed.
- Do not shift the fusion section until the bead has cooled from its warm, soft state.
- Protect the joint from wind, dust and direct handling during the cool down.
Signs the weld is ready for handling
A cooled joint should look stable before anyone starts lifting, releasing clamps or re-positioning the line. Glossy, soft or uneven joints are left for longer.
Inspect the bead once the clamps are released. Crews can check whether the external bead sits consistently around the circumference and whether there are obvious signs of squeeze-out trouble, displacement or contamination. The outside appearance shows when the weld has been stressed before it was ready.
Where data logging is used, the record helps the operator link cooling time to the rest of the cycle. That log becomes useful when a supervisor wants to see the exact heating period, changeover interval, fusion pressure and cooling stage for the weld.
- Look for a uniform bead around the pipe circumference.
- Check that the joint has not slipped in the clamps.
- Watch for scratches, flat spots or movement marks near the weld.
- Use the logged cycle to match field practice with the machine settings.
Letting the joint cool before handling
Rushing usually happens when the trench is wet, the weather turns, or a task on the same shift starts pressing in. In Durban humidity, the line can look cool before the cooling time is up. In winter work around Johannesburg, a cold breeze can give the same false confidence. The outside of the pipe may feel manageable while the core is still settling.
Cooling time is set on the weld sheet for each pipe size and wall. Early loading lets the joint deform under its own weight or under lifting-gear tension. Early release on mining work can mean cutting out a section after inspection.
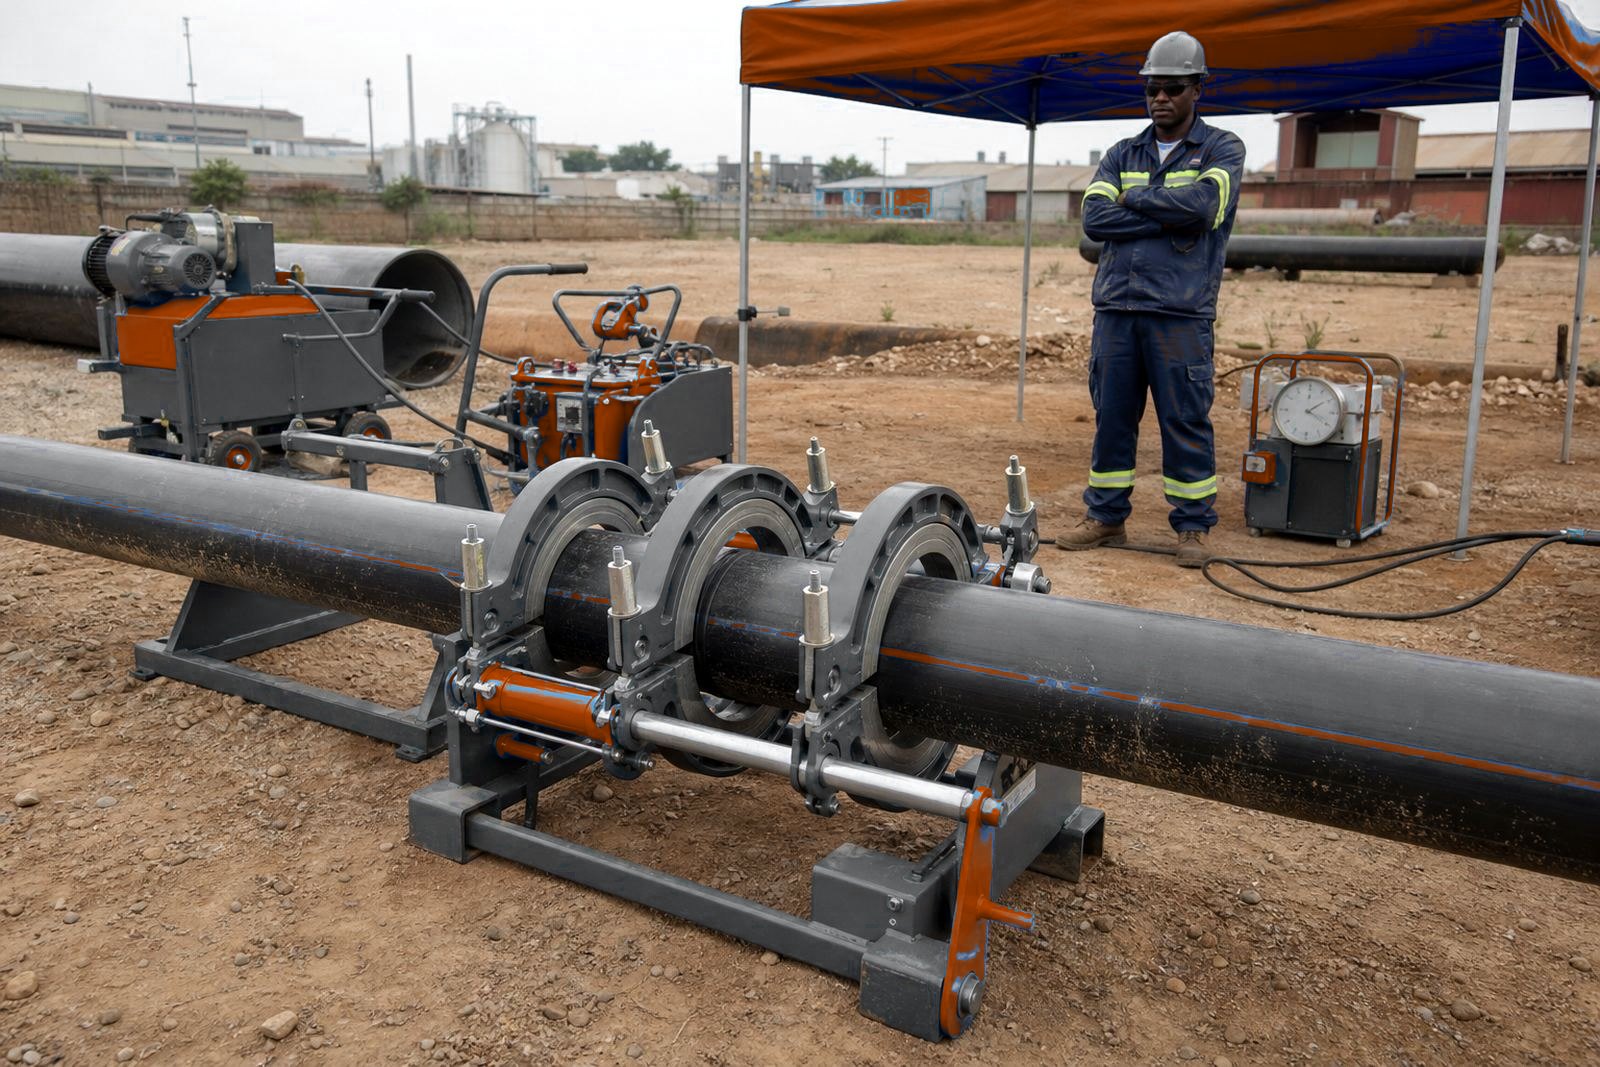
Machine operators, supervisors and riggers should agree on when the pipe is safe to handle, and who gives the call. Proper cooling time protects the weld. Joints stay clamped for the full cooling period, even after the heater is out.
The settings that shape the cooling window
Cooling time is tied to the full butt-fusion cycle. Facing has to leave clean square ends, heating has to raise the faces evenly, and the changeover has to stay tight enough to prevent heat loss before fusion pressure is applied. If any of those steps drift, the cooling stage also changes.
Hydraulic pressure has to be set correctly. Low pressure can stop the bead from forming properly. Over-pressure gives an oversized bead or forces the melt into an uneven shape.
Our team sees the same pattern on hire machines and field units. A clean heater plate, a true facer and aligned clamps all make the cooling stage more predictable. Poor set-up can cause the joint to move when the pipe is lifted.
- Check that the facer leaves a flat, even face across the full diameter.
- Make sure clamp alignment holds the pipe ends true through the weld.
- Keep the hydraulic system steady so pressure does not drift during fusion or cooling.
A site example from the field
A contractor working on a water line had a run of HDPE pipe that looked ready for handling only a short while after fusion. The bead seemed firm enough and the trench crew wanted the line shifted into position before the next section was prepared. The supervisor held the pipe in clamps longer and checked the weld log before allowing any movement.
That extra cooling time avoided a bend at the joint, which would have been easy to miss in the rush of the shift. The pipe stayed straight, the bead remained even and the next section lined up cleanly.
Cooling time protects the effort already invested in facing, heating, fusion pressure and logging. Once the weld has settled, the job can move on with less risk of disturbance.
Training crews to respect the wait
Operator training should cover the controls and how pipe size, SDR, ambient conditions and machine settings affect the cooling window. Refresher training covers full cooling times on busy jobs where the trench foreman is pushing for progress.
Show new hands why the joint must sit undisturbed even when the bead looks finished. Experienced crews review the machine log, the clamp release point and the handling sequence after fusion.