The handover between heat and fusion
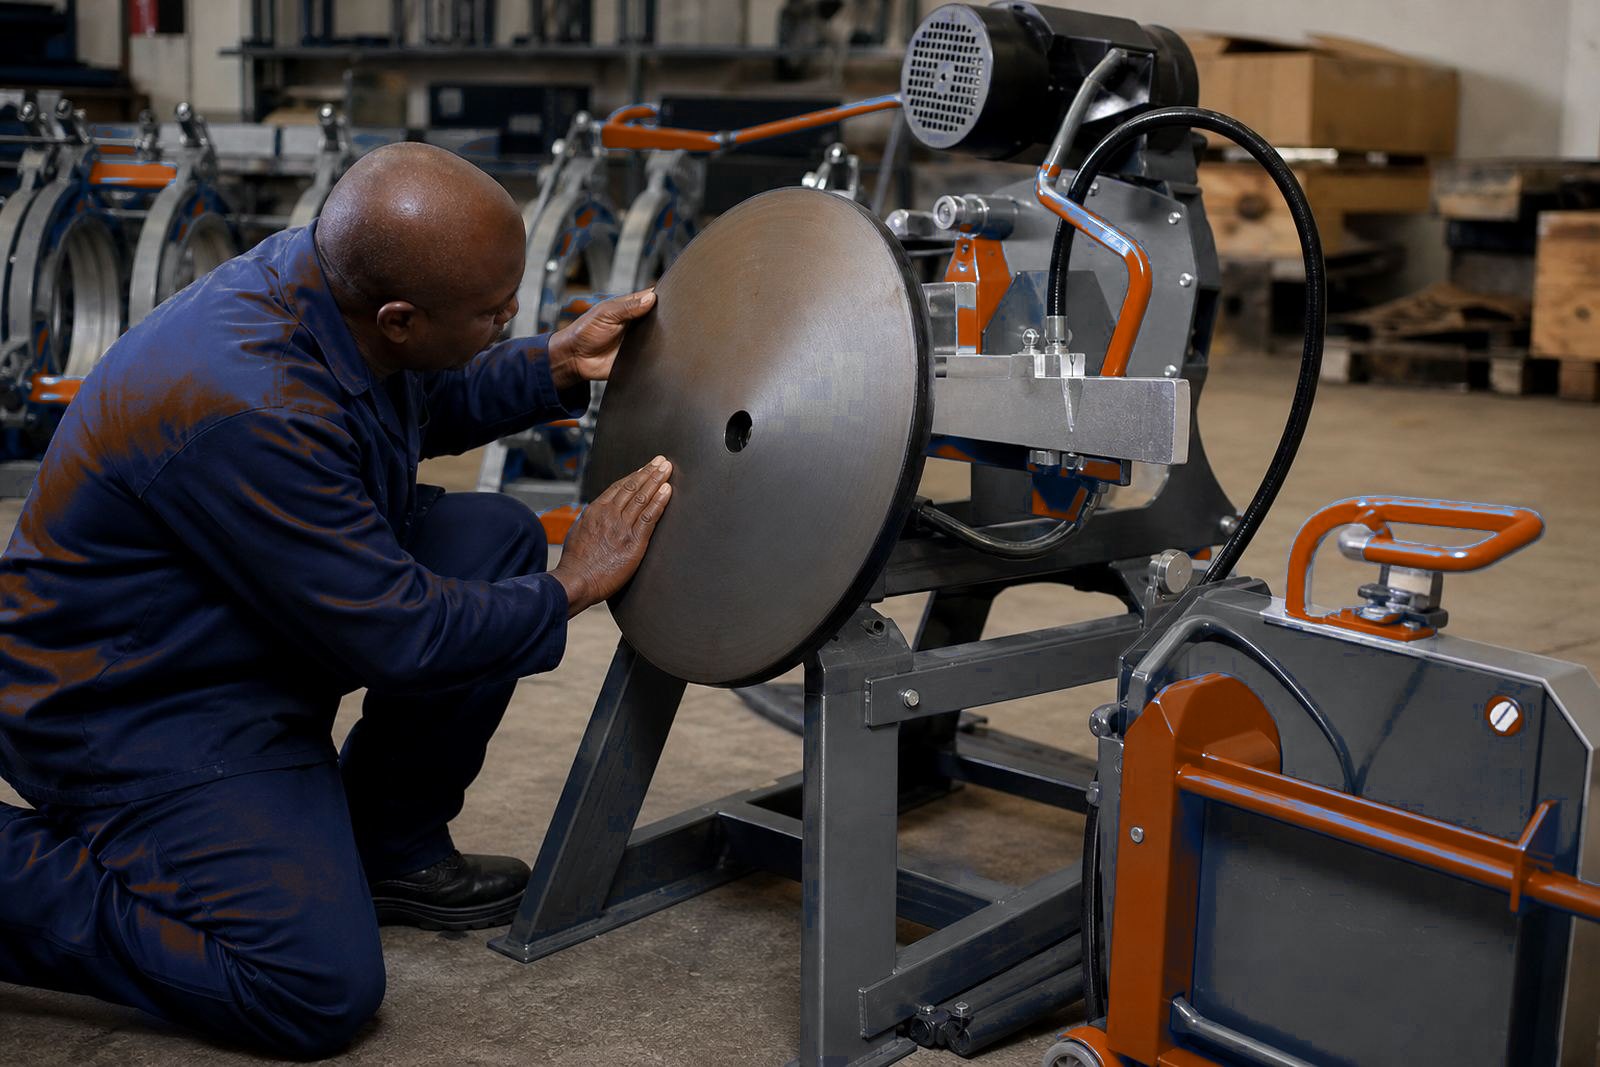
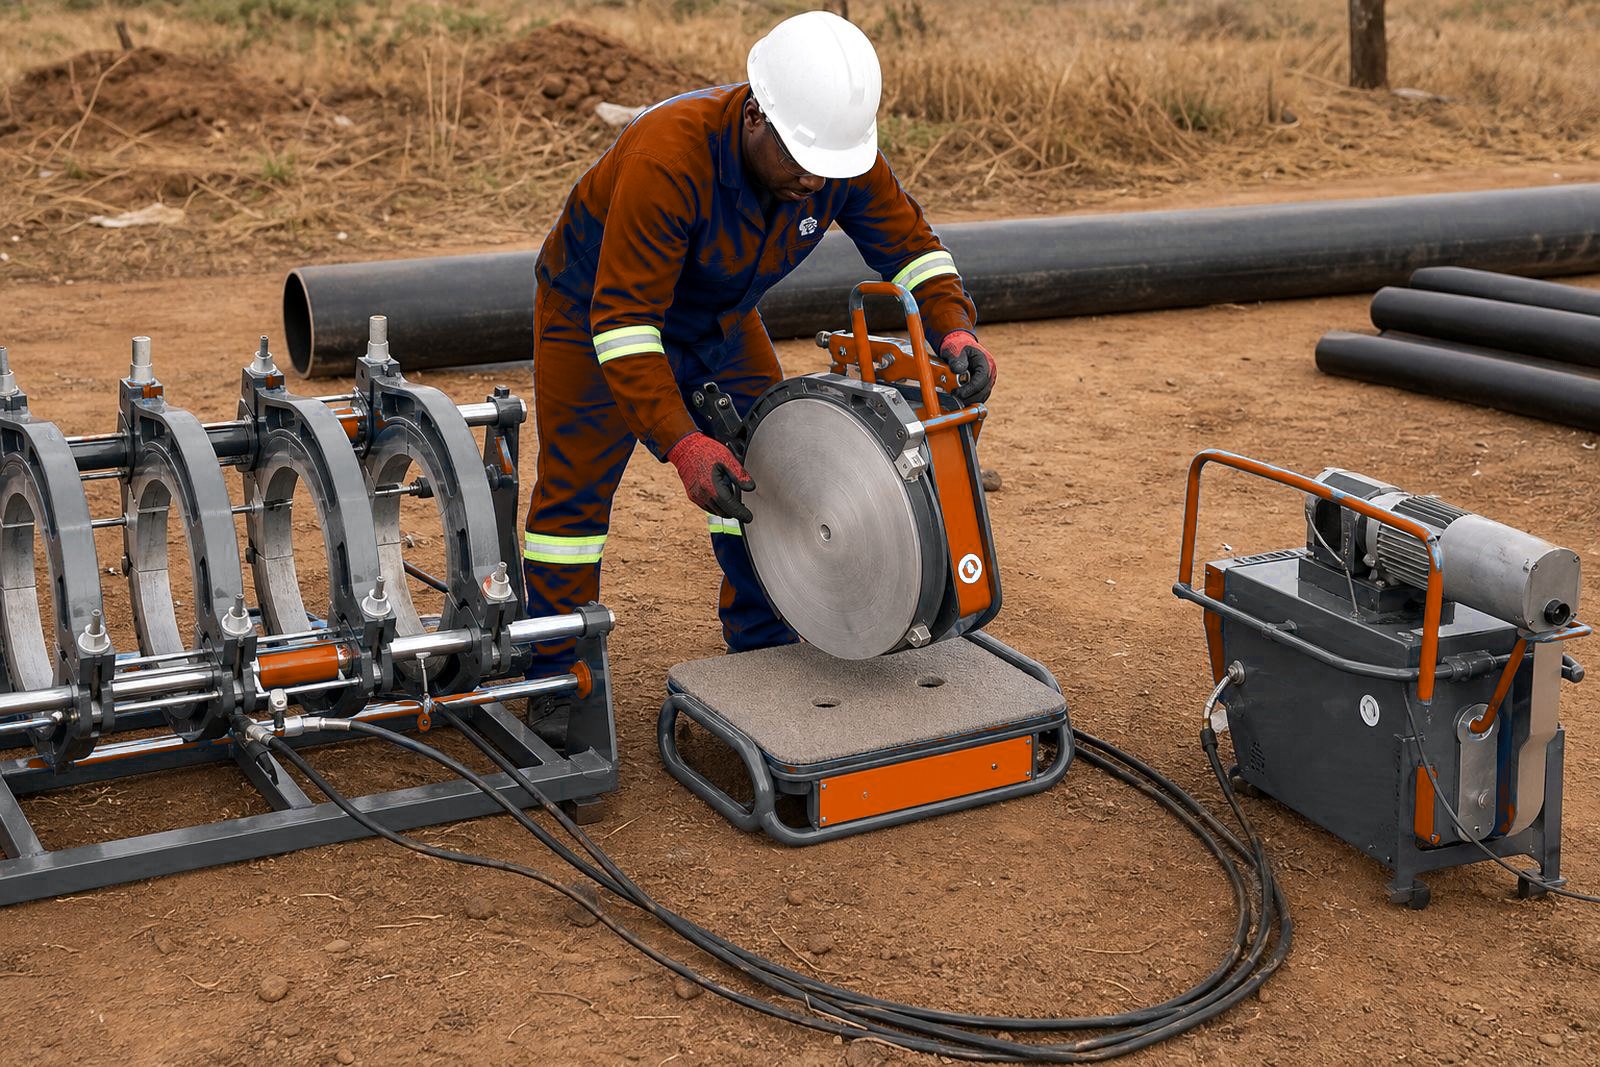
Removal of that plate must be calm and controlled, because the softened surface skins over very fast once it meets moving air, dust or a rushed clamp changeover. Lift the plate out steadily and close the ends straight away.
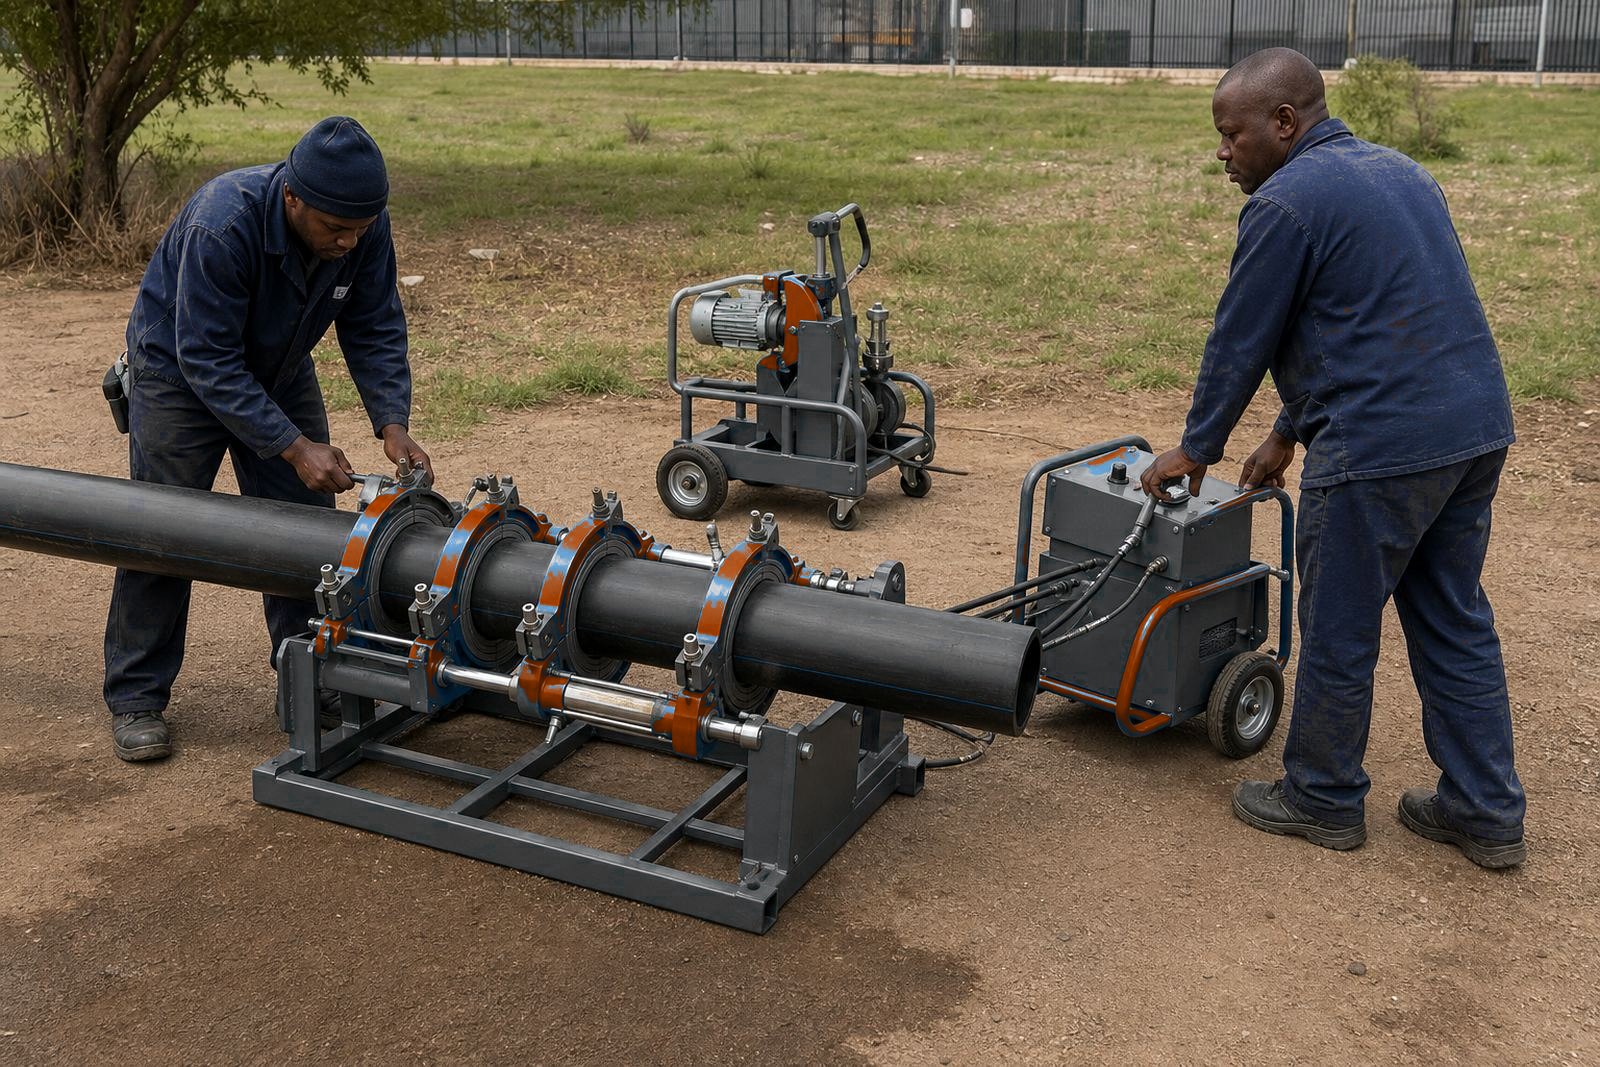
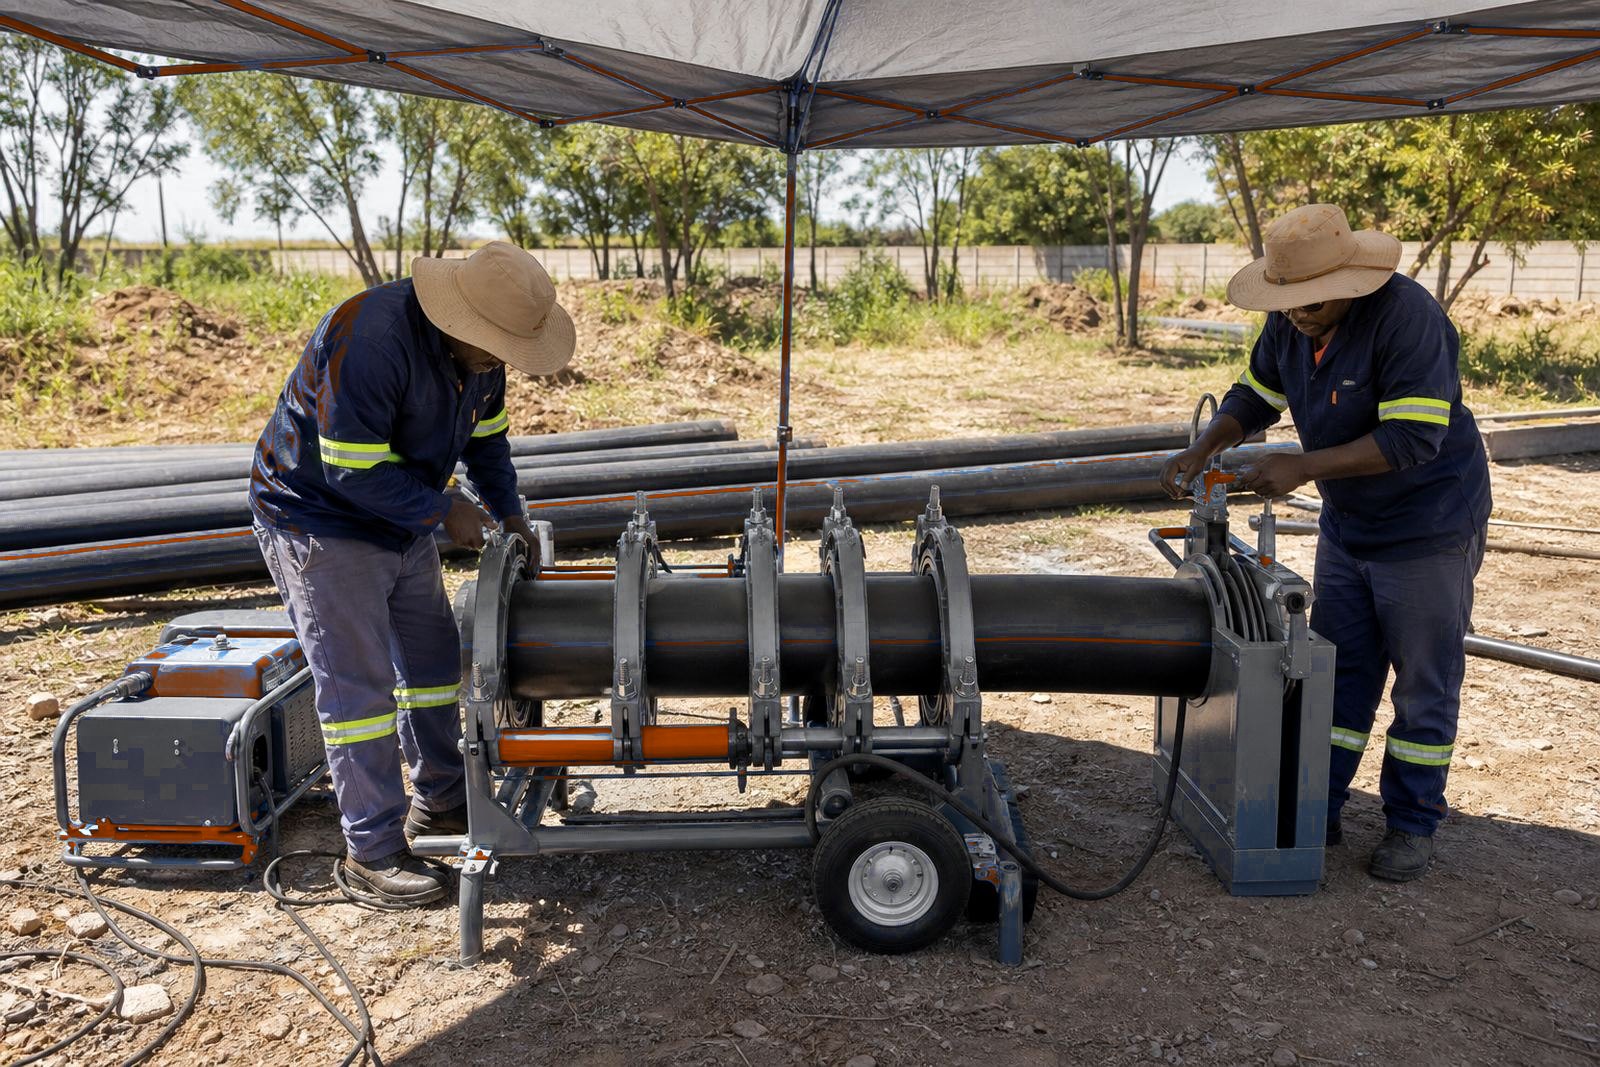
That handover keeps both pipe ends aligned, keeps the heated face untouched and moves straight into fusion pressure before the melt cools unevenly. On smaller diameters there is little room for error, while larger SDR ranges need more care because wall thickness, heat soak and clamp hold all affect the final bead.
What the operator is watching in that short window
Heater removal should feel rehearsed. The operator checks that the pipe has reached the planned heat soak, the facer has left a full, even shaving and the heater plate is clear before the pipes are brought together. A dragging or sticking plate glazes the face or picks up contamination.
- Move from heat removal to changeover in one steady sequence.
- Keep the exposed faces off the ground, gloves and loose grit.
- Apply fusion pressure smoothly, then hold the set pressure through cooling.
In wind, a slow heater removal lets the faces cool before they are joined.
Cooling time starts the moment pressure settles
Take the heater out cleanly so the ends can close within the changeover time.
Cooling is often where a rushed crew is tempted to move too soon. That can oval the joint, disturb the bead and leave an uneven ring that does not look right to an experienced eye. On bigger pipes, or where the SDR is lower and the wall is heavier, time the clamp hold and cooling period as closely as the heating stage.
Reading the bead after heater removal
If heater removal was rough, the first signs often appear there. The bead can look thin on one side, bulky on the other, or show a dull patch where the faces did not meet cleanly. For us, checking the bead forms part of the work from the start.
Record each joint on the data logger where one is fitted. Recorded heat, changeover and cooling figures give the crew a record to compare against the pipe size and wall class used on the day. Removal records help on long runs touched by several crews.
- Look for flat spots that can point to poor heater removal.
- Keep the joint protected while it finishes cooling.
Timing the heater removal
Long HDPE runs are often set up against transport windows and site access limits. The job may involve several lengths, different diameters and a machine that has to move between a stock yard and a trench edge. In that sort of setting, heater removal is one of the first places where fatigue shows. A hurried lift, a small scrape, then a bead that needs rework.
Operator training pays its way there. A trained crew lifts the heater plate straight out and sets it on its stand. They know the sequence, the clamp feel, the pressure rise and the cooling hold. They set up pipe support, clean faces and a square facer pass ahead of the first heat cycle.
Where servicing supports the welding sequence
Machine servicing keeps the heater plate, facer, clamps and hydraulic parts working as one set. Cold spots, damaged coating or unstable temperature make removal hard to judge. A clean plate, sound clamps and straight alignment make the changeover far easier to repeat across a shift.
Refresher sessions cover heater removal and changeover timing on the machine your crew uses.