What alignment is doing before the heat cycle
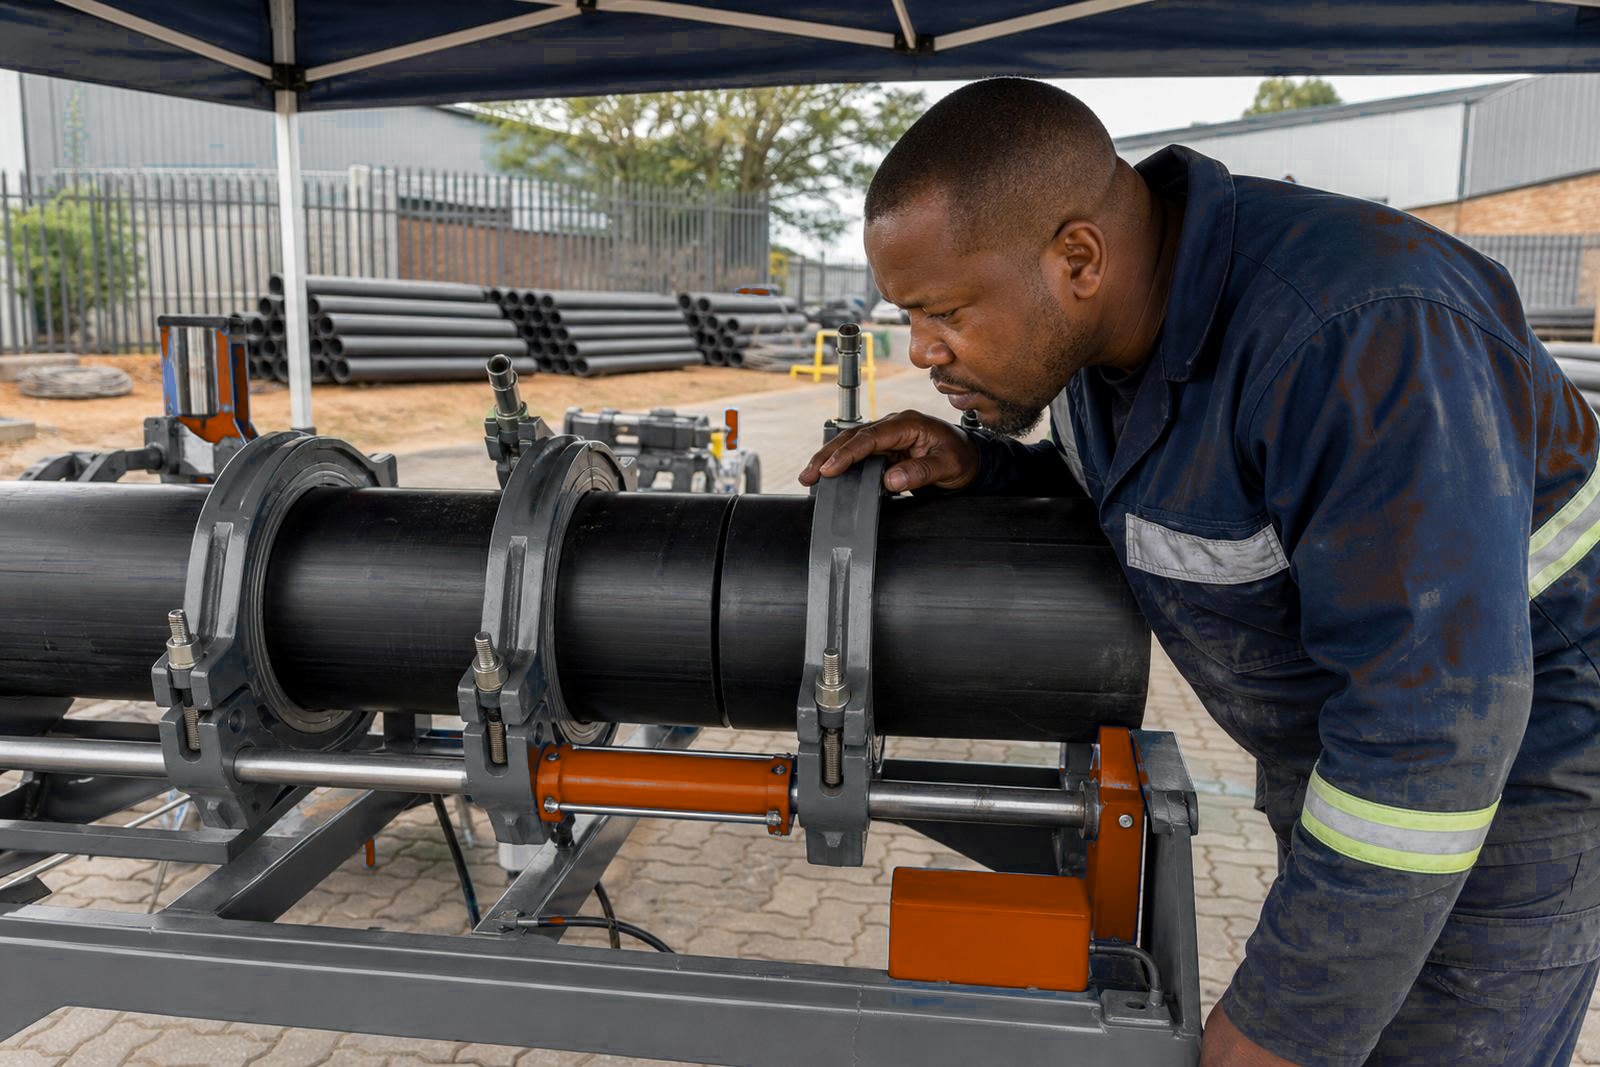
Alignment means both ends share a centre line and meet without a step. High or low sides load the melt faces unevenly and build an uneven bead.
On site, alignment is checked before heating starts and again after the facer has trimmed the ends. A square joint lets the molten HDPE flow together under the right fusion pressure and settle evenly during cooling.
What to look for on the machine frame
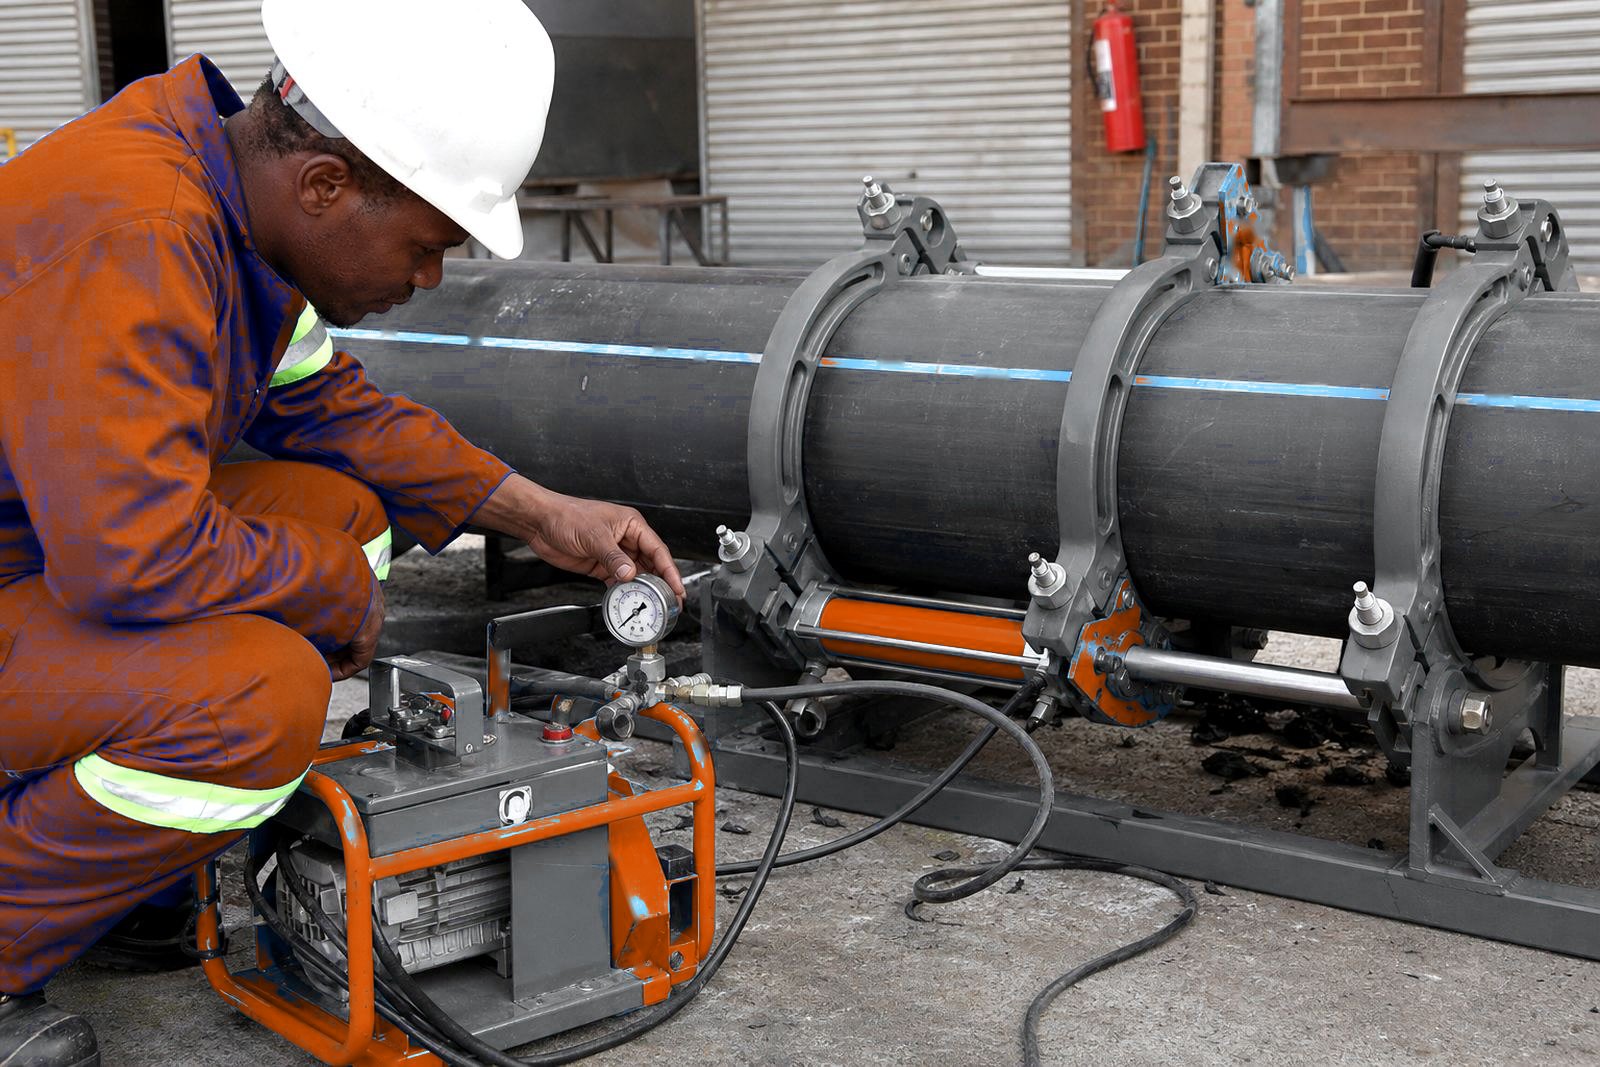
Most problems show up before the heater plate even comes in. Pipe sits firmly in the clamps with no twist and no lift at one end. On long runs, even a small bow can pull the joint out of line once the pipe is released from the carriage.
- Look for dirt, burrs or flattening near the grip points.
- Confirm the carriage moves without snagging or side pull.
Loose or worn clamps let pipe move during facing. That extra movement is enough to leave one end slightly proud, which shows in the bead later.
Facing sets whether the joint starts square
The facer should trim both ends cleanly and leave a flat, even surface. If the blade is blunt, the carriage is misaligned or the pipe is not clamped properly, the cut can lean to one side. After facing, the chips should be fine and even in thickness on both edges.
Large-bore pipe walls distort more under clamp pressure, so alignment is checked twice. Pipe at 160 mm or 200 mm can look true from one side while the inside face is out by a few millimetres. That offset stays in the joint after fusion.
Heater plate contact and the first bead
Each end must touch the plate evenly across its full face. Uneven alignment can cause one side to heat faster than the other, which changes the way the melt bead rolls out when the heater is removed.
On a good setup, the initial bead grows evenly around the whole circumference. On a poor one, the bead may be thicker on one side, flat on the other, or show a gap where the pipe did not seat properly. That is a warning sign before the pipes even meet under fusion pressure.
Changeover is where many joints drift
The changeover from heating to joining must be quick and controlled. During that move, the pipe ends should stay aligned and should not scrape, twist or drop. A hand that is rushed or a carriage that sticks can disturb the molten faces and leave the joint with a lean.
- Move the pipe straight back along the carriage line.
- Bring the ends together without banging them closed.
- Hold the joint under the stated pressure while it cools.
Releasing the pipe too early lets a small offset set in, and the joint then has to be cut out and redone.
How weld logs help on repeat work
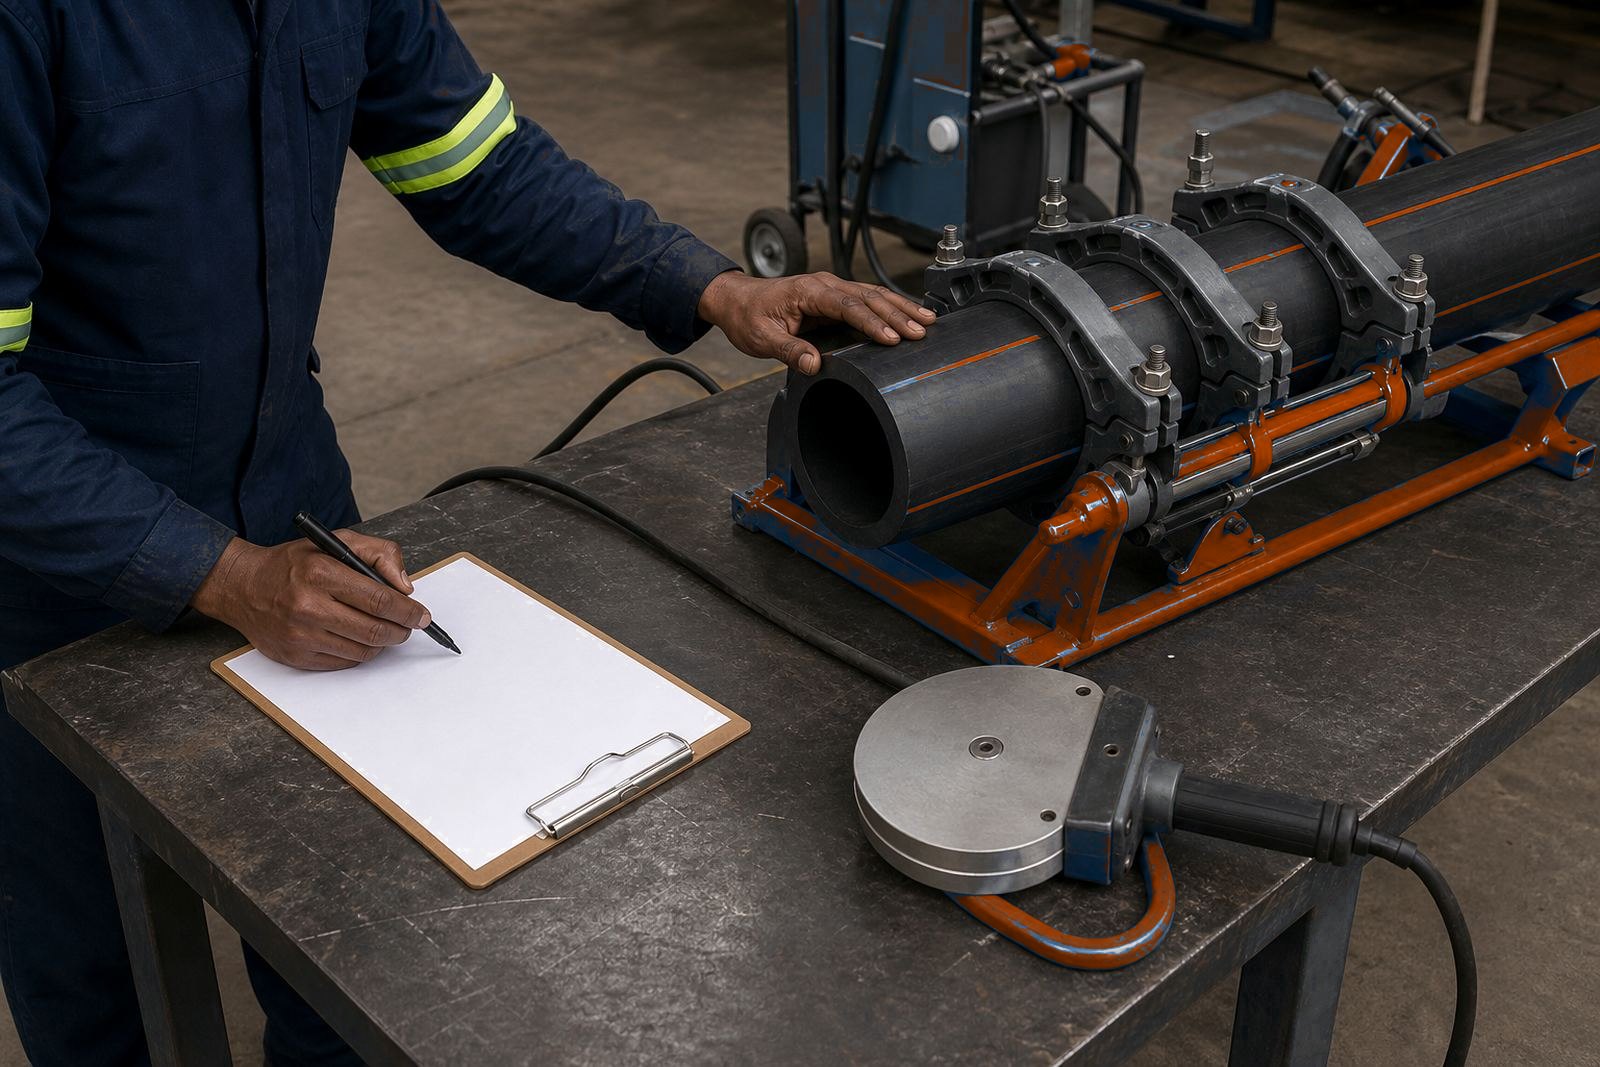
Alignment records list pressure, temperature, timing and pipe size for each joint. The log shows whether the weld followed the expected sequence. When the log and the bead inspection match, the operator can be confident the machine and the setup were both right.
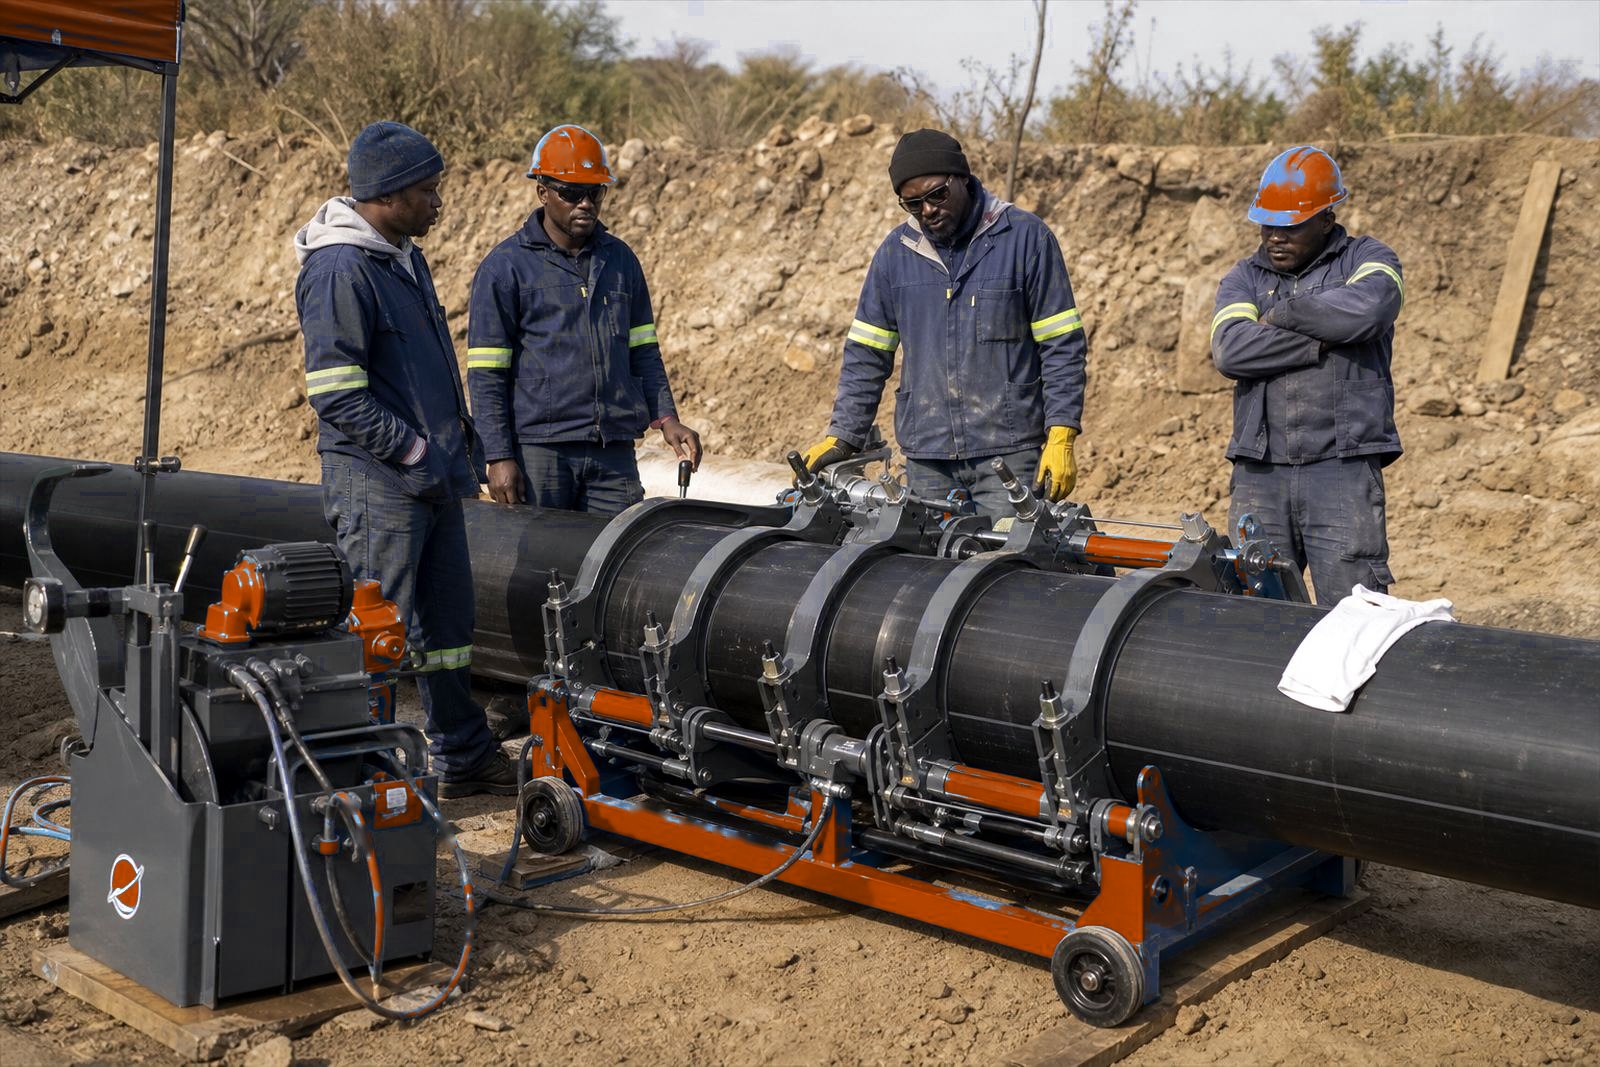
For work on SDR 11, SDR 17 or similar wall ratios, set the clamps and pipe support as carefully as the heating cycle. A pipe that sags between supports can pass through the weld cycle with a hidden bend, so the line should be checked before the next joint starts. Outside Rustenburg, a straight clamp setup and a clean facer cut gave an even bead on a water line before backfill.
When the joint should be stopped and reset
If the ends do not face up evenly, or the bead shows a clear step from one side to the other, stop and inspect the setup. Do not force a joint that is already out of line. Reset the clamps, reface the ends and check the carriage travel before the pipe goes into the trench.
Line up both pipe ends in the clamps before facing each joint. Check alignment daily where long lengths get rough handling.