
Trimming beads without disturbing the pipe wall
Trim tools come out after fusion, once the joint can be handled and before the bead hardens past easy reach. In HDPE pipe work, the tool has to shave or trim the excess bead cleanly, without gouging the pipe wall or tearing the fusion line. This applies on larger bore mains, on lines with tight clearance around brackets, and on work where the internal bead is being checked for shape and consistency.
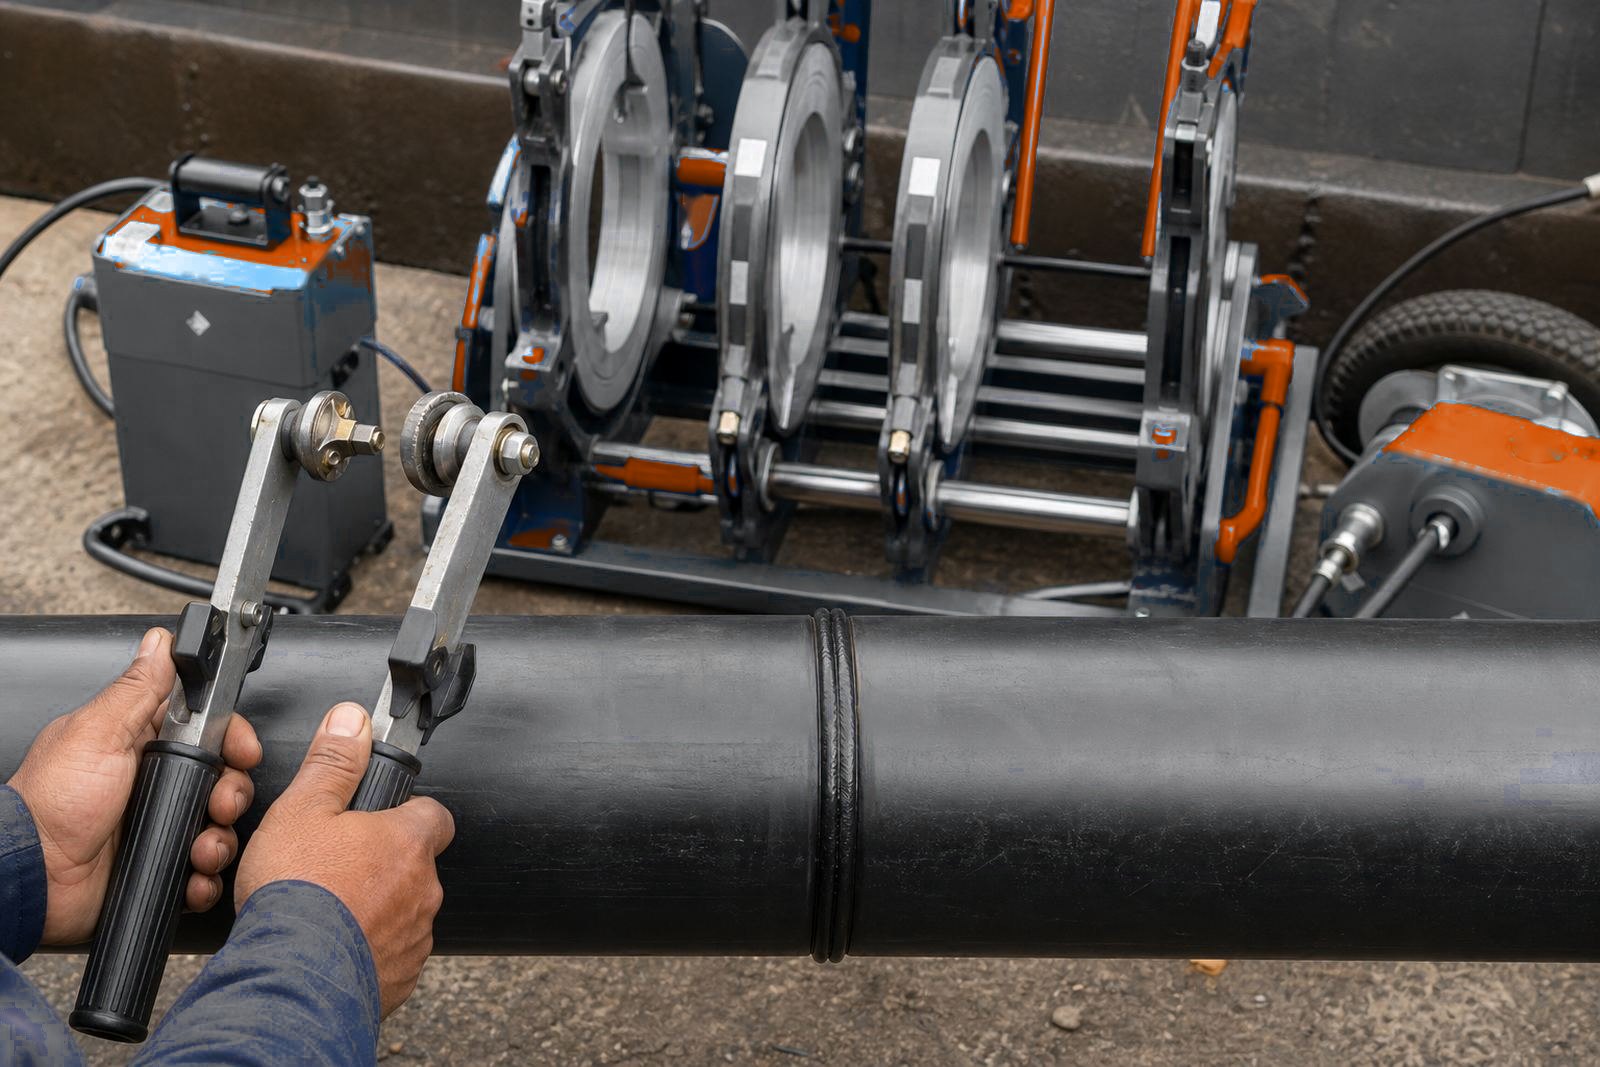
Trimming a bead on site calls for a tool that cuts evenly. A proper trim tool gives a steady cut, a clean edge and a better view of the weld zone. On some jobs the bead is only reduced for inspection. On others, the internal bead needs to be taken back to a uniform profile where the pipe size, wall thickness and service conditions allow it. Tools are made for external bead, internal bead, or both.
- Controlled trimming for external bead around the joint
- Access tools for internal bead where the pipe bore allows it
- Handles and guides sized for workshop or site use
- Blade and scraper parts selected for repeated field work
Sizes, reach and cutting profiles that match the pipe
Bead trim tools are supplied in forms that suit different pipe diameters and access conditions. Smaller hand tools suit detail work on short sections and repairs. Longer reach tools are better where the bead sits deeper in the pipe bore or where a technician needs a steadier angle across a wider joint. For thicker wall pipe, a firmer frame and wider cutting path helps keep the trim even across the full joint circumference.
With HDPE pipe, pipe size and SDR affect wall thickness, bead volume and the room available for the tool. A tool that works neatly on one size may feel awkward on another if the handle angle or cutting head is not right. For this reason, trim tools are usually chosen against the actual pipe range on site, with a clear description.
- Hand-held bead tools for smaller diameter work
- Extended reach options for deeper bore access
- Profiles matched to pipe size and wall thickness
- Spare blades or scraping edges for ongoing use
Where the tool fits into the fusion sequence
Bead trimming or checking begins once the joint has cooled enough to hold its shape. An early trim can disturb the joint while it is still moving under heat, so that order stays important.
On site, the crew still checks the bead by eye and by touch. A sound joint usually shows an even bead, with a consistent roll around the circumference and no obvious collapse, burn mark or cold patch. Trim tools remove the external bead after cooling so the inspector can check the cut strip for voids and even thickness. Uneven squeeze-out before trimming sends the weld process back for review.
- Used after facing, heating and fusion pressure are completed
- Supports inspection of bead form and uniformity
- Helpful on training jobs where weld quality is being assessed
- Used with cooling time that matches pipe size and wall thickness
Site fitting and day-to-day handling
Most bead trim tools are manual, so fitting is mainly about giving the operator clear access, a stable stance and enough room to work cleanly around the weld. On tighter sites, such as a narrow trench, the tool needs to move without snagging on clamps or pipe supports. If the job is in a dusty corridor or in damp coastal air, the cutting edge should be wiped and dried after use to avoid corrosion on working parts.
Keep the blade keen and the guides free of dirt. A blunt edge tends to drag, which can leave ragged trimming marks or force the operator to push harder than needed. Wear checks on trim tools cover the cutting face, loose screws, bent guides and handle play. Small service faults turn into poor bead control very quickly on repeated pipe work.
- Manual use with a stable grip and clear access
- Works alongside clamps, facer tools and weld frames
- Cleaning and drying after use in dusty or humid conditions
- Regular blade checks to keep the cut even
What to confirm when ordering for a live job
Trim tool selection needs the pipe diameter range, the SDR range, and internal, external or both. New install pipe and repair sections each give a different bead size. Bead inspection notes from the trim step go into the weld log where the procedure asks for them.
For site startup work, one tool can cover several pipe sizes, or a dedicated tool can cover a narrow range. A broader range gives flexibility, but a narrower setup can feel better on repetitive production work. Tell us the pipe sizes and site access on your job, and we will match the trim tool to them.
- SDR range and whether the joint is pressure pipe
- Internal or external bead trimming requirement
- Need for spare blades or guides
Key facts
| Tool type | Manual bead trim tool for HDPE fusion joints |
|---|---|
| Use | Internal bead trimming, external bead trimming, bead checking |
| Pipe range | Matched to the confirmed diameter and SDR range |
| Working method | Post-fusion use after cooling and initial bead inspection |
| Care | Clean, dry and inspect blades, guides and fasteners |